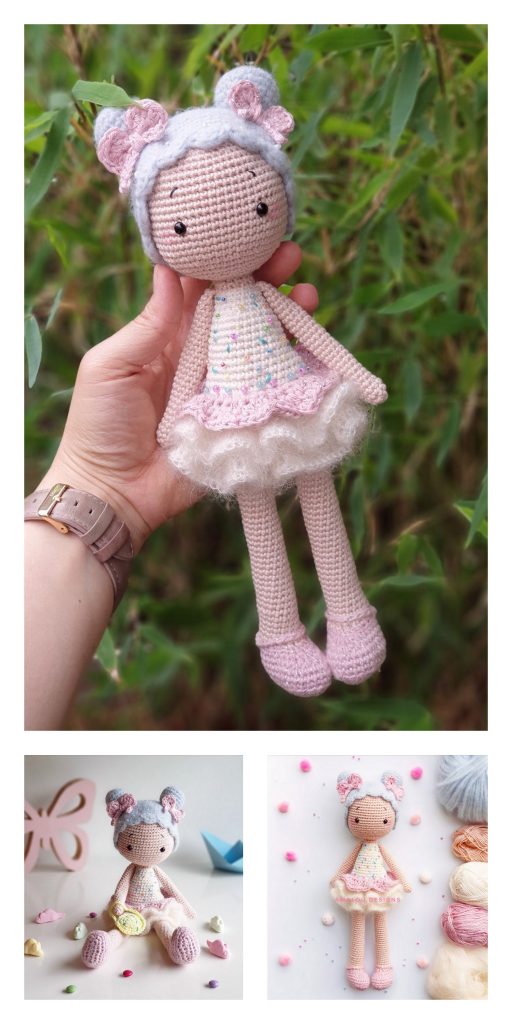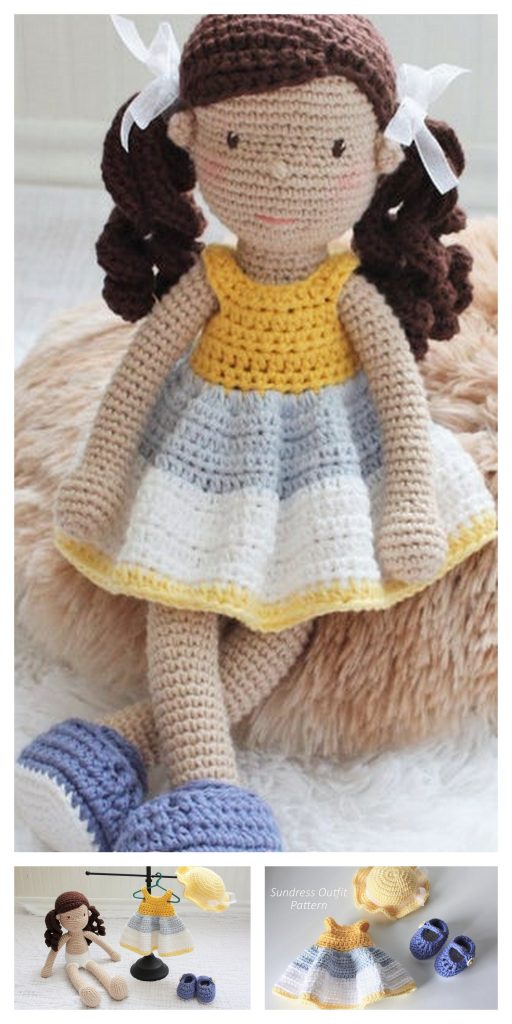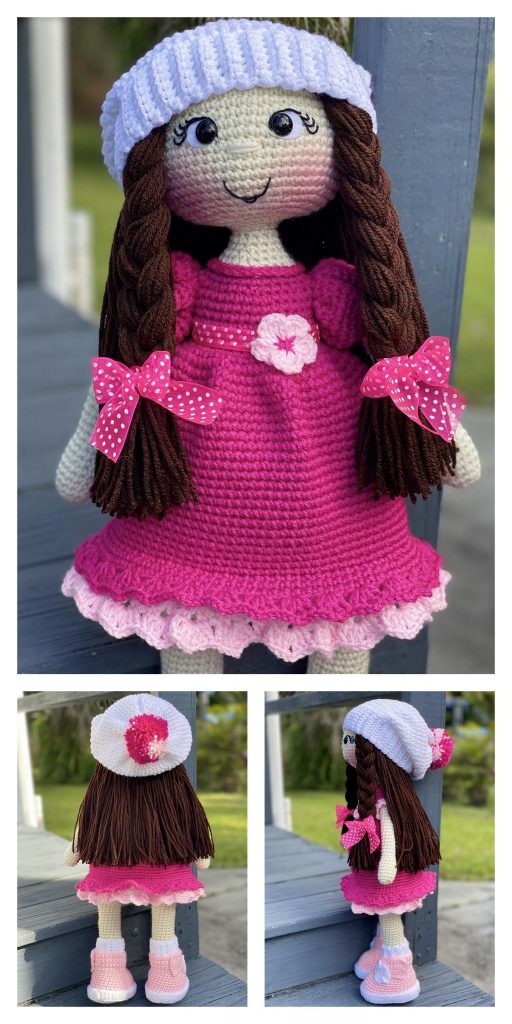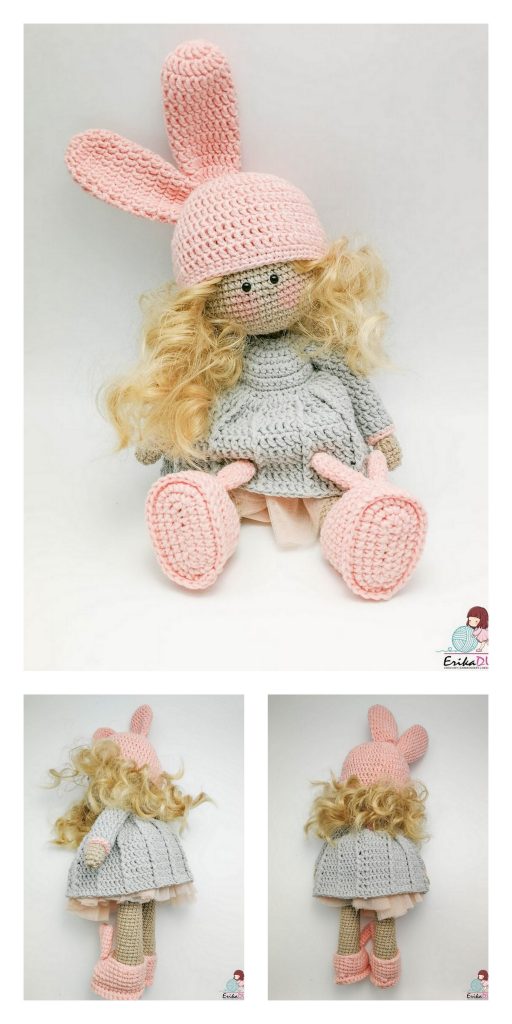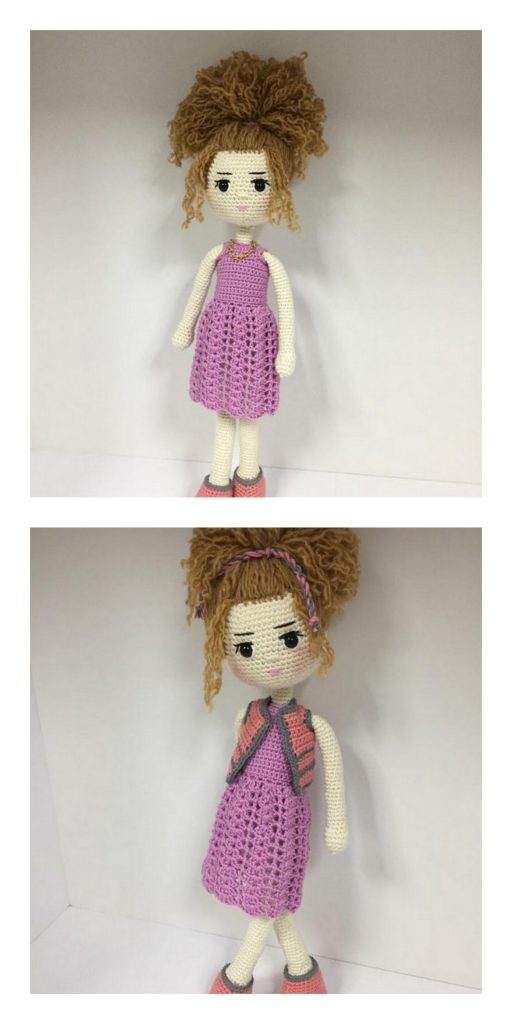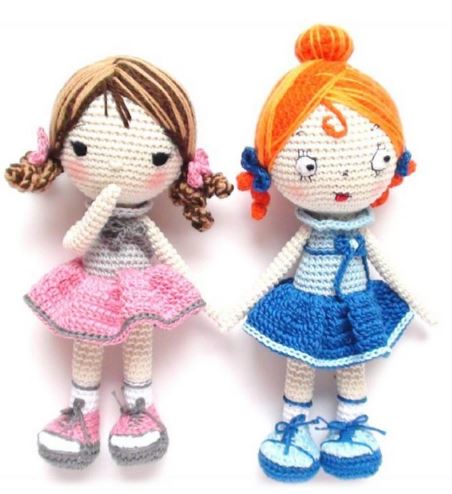
AMIGURUMI DOLL SUZI FREE CROCHET PATTERN
Hello amigurumi lovers and beautiful visitors, I wanted to share the free amigurumi patterns for you here. In my article I will share 1 pattern and how to make it for you. At the end of my article, I will share amigurumi patterns that can generate ideas for you.
Abbreviations:
sc – single crochet
inc – increase
dec – decrease
ch – chain
sl-st – slip stitch
dc – double crochet
Legs:
We start with the shoes, pick up 5ch dark blue yarn.
1) From the second loop from the hook we knit: inc, 2 sc, inc in the last loop
from the hook, continue along the second side of the chain: 2 sc, inc last
loop (10)
2) (inc) x3, 2 sc, (inc) x3, 2 sc (16)
3) sc, inc, 2sc, inc, 4sc, inc, 2sc, inc, 3sc (20)
4) sc, inc, 4sc, inc, 4sc, inc, 4sc, inc, 3sc (24)
5) 2sc, inc, 4sc, inc, 6sc, inc, 4sc, inc, 4sc (28)
6) Behind the rear wall 28sc
Change the yarn to light blue.
7) 28sc
8) Behind the back wall 6sc, (dec) x8, 6sc (20)
9) Behind the back wall 6sc, (dec) x4, 6sc (16)
Cut 2 pieces of cardboard to the size of the sole, put them in shoes,
to make the toy more stable.
10) Behind the back wall 4sc, (dec) x4, 4sc (12)
We begin to knit socks, change the yarn to white.
11) Behind the back wall (4sc, dec) x2 (10)
12-14) 10sc
Shoes design:
Using a needle, light blue yarn sew 12 front loops 7 and 8
row without pulling together (see photo).
With a dark blue thread, draw the laces and select the horizontal border
stitched 12 loops.
We continue to knit the legs, change the thread to beige.
15) Behind the back wall 10sc
16-25) 10sc
The petticoat begins, we change the yarn to light blue.
26) (4sc, inc) x2 (12)
27) 12sc
We fix the sl-st and break the thread. We stuff the detail.
We knit the second leg in the same way, but the thread is not
we cut off, we will continue to knit the body.
Body:
We knit sc, 2ch on the 2nd leg and connect it to the 1st in the 5th loop from sl-st.
28) 12sc in the first leg, 2sc in the chain of 2ch, 12sc in the second leg,
2sc on the other side of a 2ch chain (28)
29-32) 28sc
33) For the rear loop 28sc
34) 28sc
35) 6sc, dec, 12sc, dec, 6sc (26)
36) 6sc, dec, 11sc, dec, 5sc (24)
37) 5sc, dec, 10sc, dec, 5sc (22)
38) 5sc, dec, 9sc, dec, 4sc (20)
39) Behind the rear wall 4sc, dec, 8sc, dec, 4sc (18)
40) 18sc
41) 7sc, dec, 7sc, dec (16)
42) 16sc
We fix, break and hide the thread.
We start knitting neck with beige yarn:
Start knitting the 43rd row from the back of the doll.
43) Behind the back wall (2sc, dec) x4 (12)
44) 12sc
We stuff the body and continue to knit the head without breaking the thread.
Head:
1) (inc) x12 (24)
2) (3sc, inc) x6 (30)
3) (4sc, inc) x6 (36)
4) (5sc, inc) x6 (42)
5) (6sc, inc) x6 (48)
6) (7sc, inc) x6 (54)
7-17) 54sc
It’s time to tackle the personality of our chrysalis. Insert safe eyes
or embroider them between 11 and 12 rows at a distance of 9 loops. Embroider
cilia, eyebrows, nose and mouth of your baby doll.
18) (7sc, dec) x6 (48)
19) (6sc, dec) x6 (42)
20) (5sc, dec) x6 (36)
21) (4sc, dec) x6 (30)
22) (3sc, dec) x6 (24)
23) (2sc, dec) x6 (18)
24) (sc, dec) x6 (12)
25) (dec) x6 (6)
We tighten, fix, break off and hide the thread inside the head.
The design of the socks:
Let’s go back to the 15th row of legs, turn the doll up
legs, we attach dark blue yarn and
we knit sl-st in a circle behind the front wall.
Pens:
We knit in a spiral, do not stuff.
1) 4sc into magic ring (4)
2) (sc, inc) x2 (6)
3) 3sc, inc, 2sc (7)
4-20) 7sc
21) fold the open hole and knit the edges together 3sc, sl-st.
Wig (2pcs):
1) 6sc into magic ring (6)
2) (inc) x6 (12)
3) (sc, inc) x6 (18)
4) (2sc, inc) x6 (24)
5) (3sc, inc) x6 (30)
6) (4sc, inc) x6 (36)
7) (5sc, inc) x6 (42)
8) (6sc, inc) x6 (48)
9) (7sc, inc) x6 (54)
10) (8sc, inc) x6 (60)
11) 60sc
Fasten, leave a long thread for sewing to the left side of the head.
We knit from the 1st to the 10th row the second part of the wig, fix it, leave the thread for
sewing to the right side of the head. This part is partially
superimposed on the first. Sew a wig.
Take the yarn a tone lighter and embroider with a needle
some hair on top of the wig.
Bundle:
Optional part.
1) 6sc into magic ring (6)
2) (inc) x6 (12)
3) (sc, inc) x6 (18)
4) (2sc, inc) x6 (24)
5) 24sc
6) (2sc, dec) x6 (18)
7) (sc, dec) x6 (12)
8) (dec) x6 (6)
We fix sl-st, leave the thread for sewing to the head.
Take the yarn a tone lighter and sew through the center of the beam
its entire circumference creating the effect of stacked in a beam
hair.
Sew the bun in the center or tie another and sew
them on the sides.
Pigtails:
1) 13ch. From the second from the hook loop (sc, inc) x5, sc (16), sl-st to the last
loop chain.
2) 6ch. From the second loop from the hook (sc, inc) x2 (6), sl-st into the last loop
chains.
Leave a long thread to sew pigtails to the head. Sew
pigtails as shown in the photo.
Skirt:
Let’s go back to the 32nd row of the body, turn the doll up
legs, we fix the dark blue thread to the front wall.
1) (sc, inc) x14 (42), sl-st, 2ch.
2) (increase from dc) x42 (84), sl-st, 2ch.
3-4) 84dc, sl-st, 2ch.
5) 84dc, sl-st.
Change the yarn to light blue.
6) 84sl-st.
We fix, break and hide the thread.
Ties:
Let’s go back to the 39th row of the body, turn over
doll upside down.
We dial 20ch and fasten the chain on the chest
dolls, we tie sl-st in a circle (we gird),
in the last sl-st we recruit another chain
out of 20ch.
The ties are ready, we tie a bow.
Collar:
Let’s go back to the 43rd row and knit for the front
the wall.
Turn the doll upside down, fasten
light blue yarn from the back of the doll.
1) 3ch, (2dc in 1 loop, 3dc in 1 loop) x6 (30)
Bows:
We dial 5ch (leave a long thread),
unfold and knit all subsequent
columns in the 5th loop from the hook: 5dc, sl-st, 4ch,
5dc, sl-st.
We fix the sl-st and wrap the bow center
the thread that was left at the beginning.
Sew the bows to the base of the braids.
Assembly and design:
– Sew handles at 42 rows of the body.
– Apply a little blush on the cheeks.
More Amigurumi Doll İdeas
