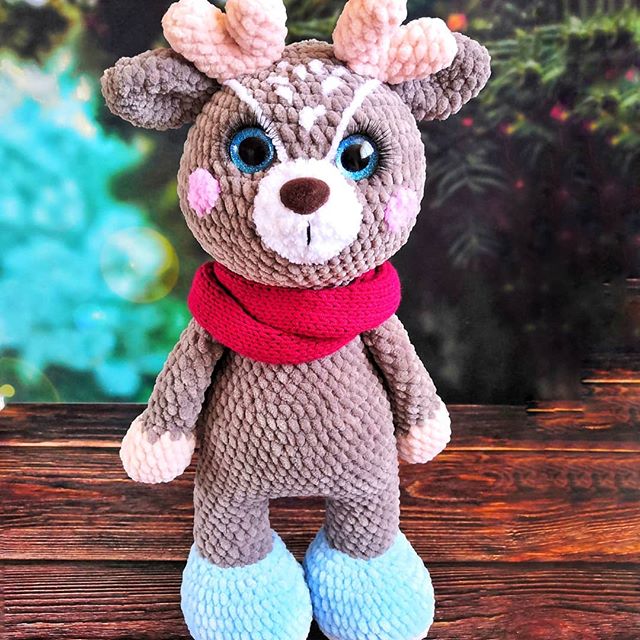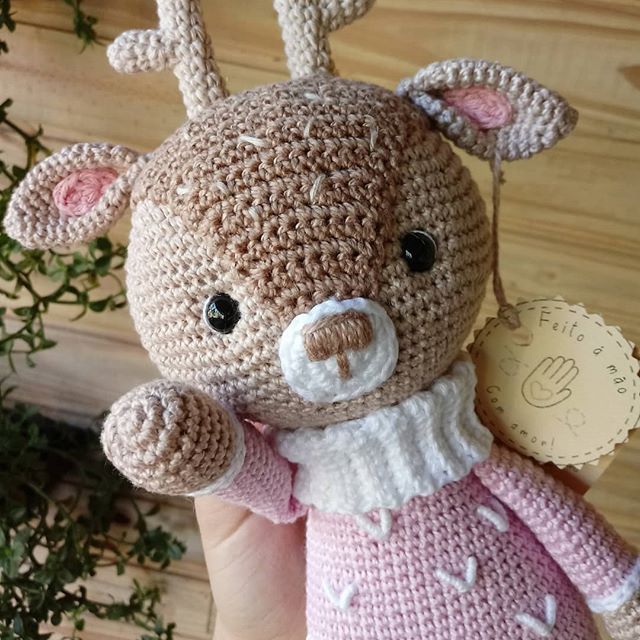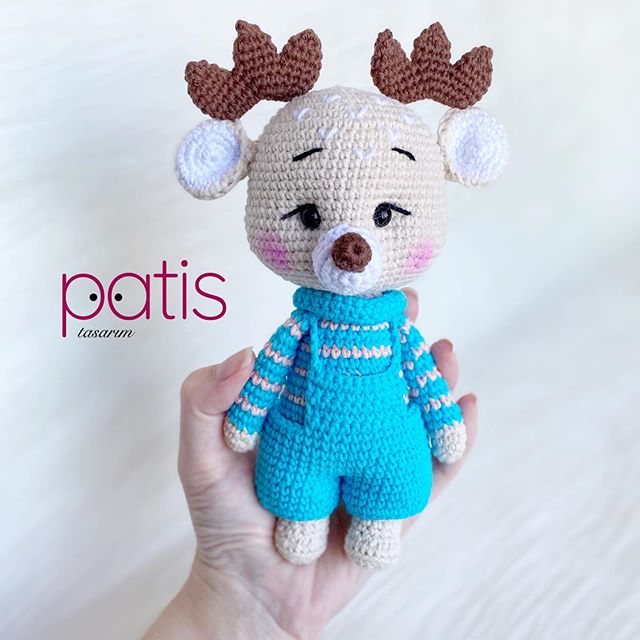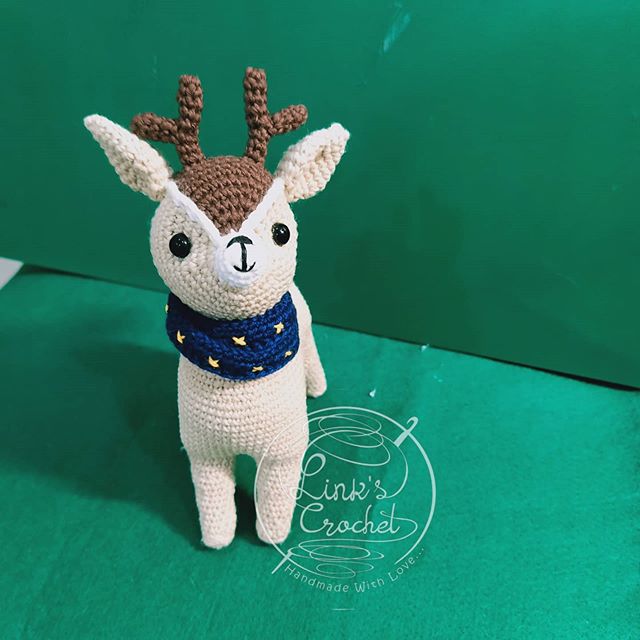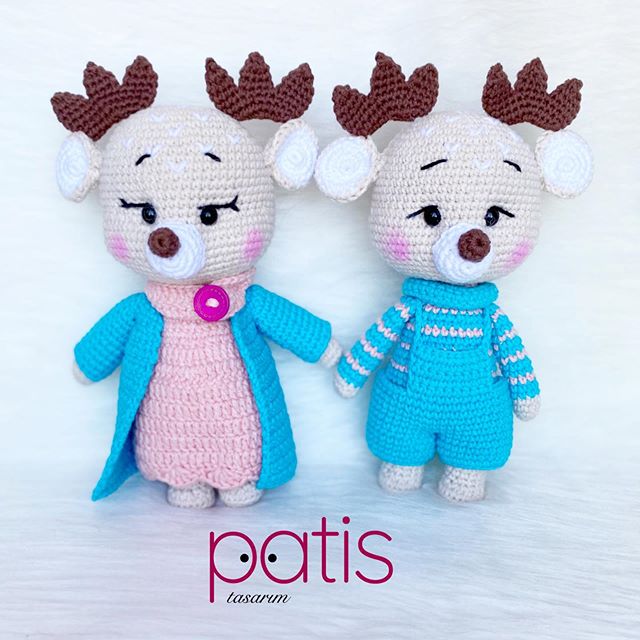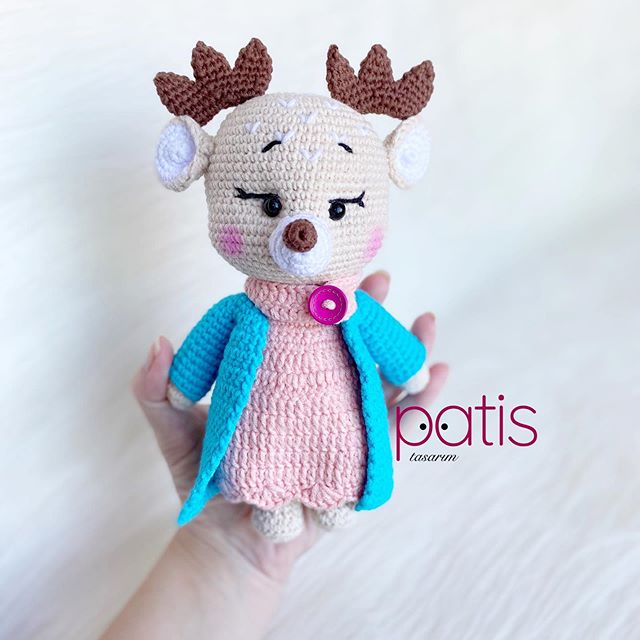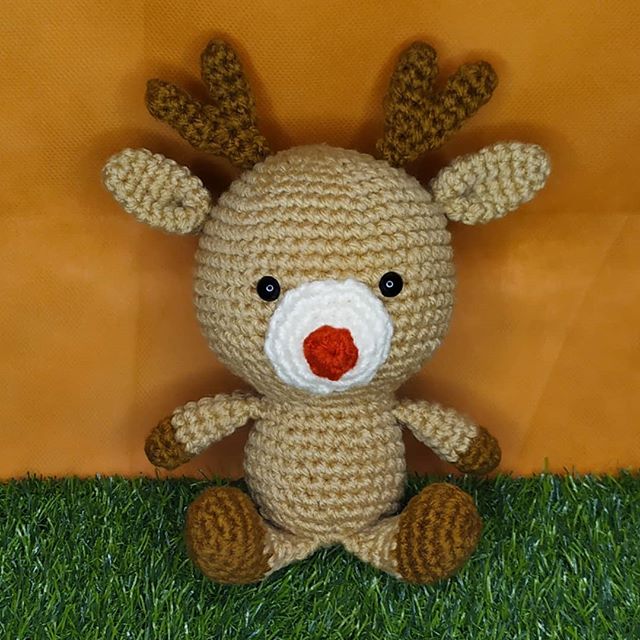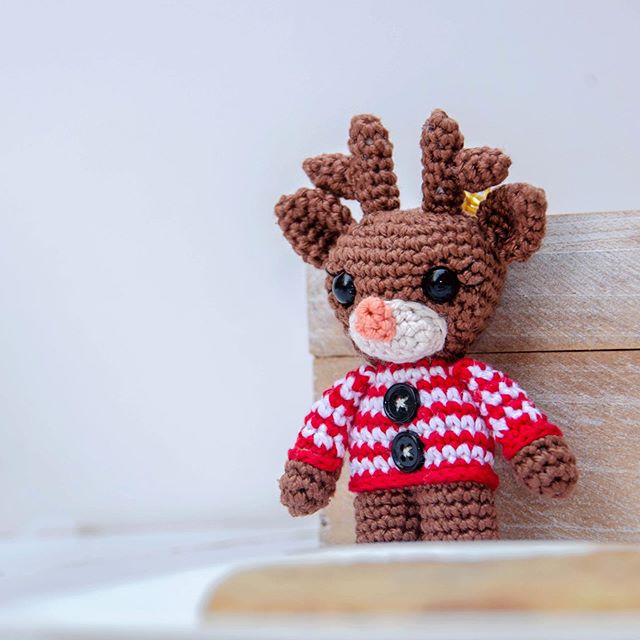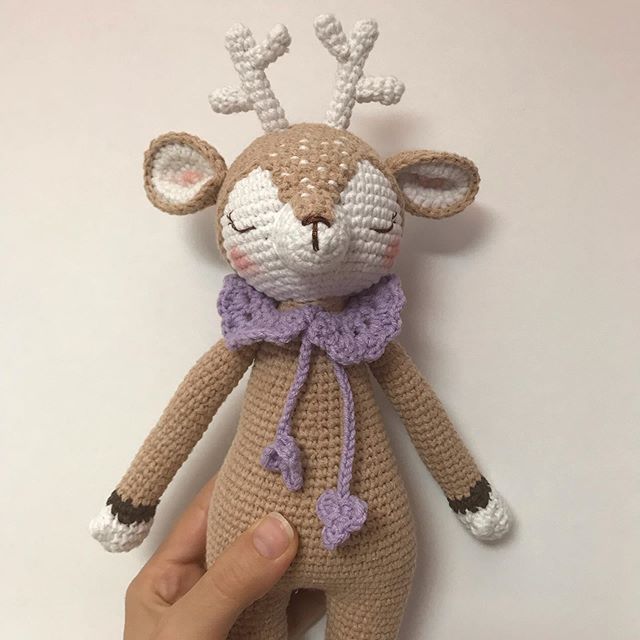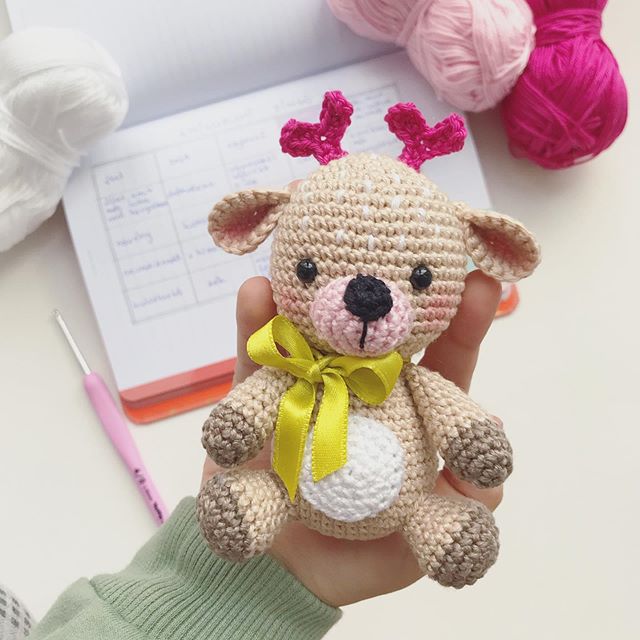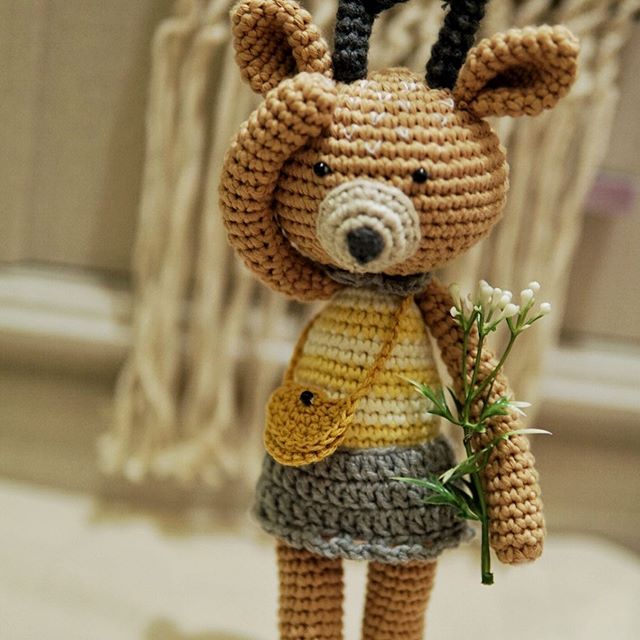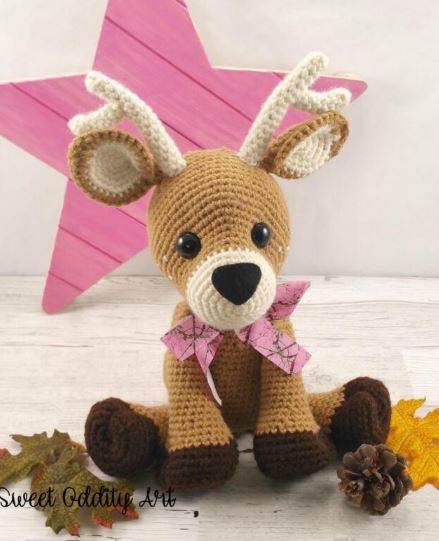
AMIGURUMI DEER CROCHET FREE PATTERN
Hello amigurumi lovers and beautiful visitors, I wanted to share the free amigurumi patterns for you here. In my article I will share 1 pattern and how to make it for you. At the end of my article, I will share amigurumi patterns that can generate ideas for you.
If you enjoy making amigurumi, here I share this easy and free amigurumi pattern for you for free. Your kids will love these toys.
Size:
15 inches from foot to top of head with weight 4 yarn and a 3.25 mm hook
Skill Level Needed:
Intermediate- suitable for novice crocheters, requires patience and precisions when assembling
the deer and basic crochet skills.
Contact Info:
If you have any questions or concerns about this pattern, please do not hesitate to contact me.
I will get back to you within 24 hours.
Materials Needed:
- Red Heart Warm brown, Red Heart coffee, red heart aran
- Hook Size: D Hook or 3.25 mm
- 18 mm safety eyes
- Pipe cleaners
- Scissors, sewing needle, stitch marker, fiberfill stuffing
Abbreviations:
mr= magic ring- crochet single crochet stitches in to the
adjustable loop
ch= chain stitch
sc= single crochet stitch
sl= slip stitch
dc= double crochet stitch
inc= increase- make two single crochet stitches in the same stitch
dec=decrease- crochet two stitches together using the decrease method
(4 sc, inc) x 6= repeat the pattern between parentheses 6 times
Notes:
- Do not join rounds unless stated, work in a continuous spiral
- Use a stitch marker to mark the beginning of each round
- All stitches are worked in both loops unless stated otherwise in the pattern
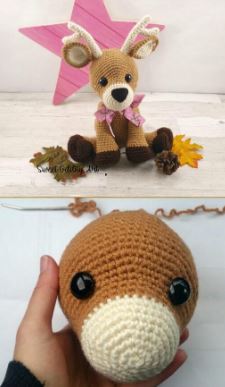
Head:
Crocheted from front of nose to back of head
Starting with aran yarn
1. Make 6 sc into a magic ring= 6 30. (4 sc, dec) x 6= 30
2. Increase in each st around= 12 31. (3 sc, dec) x 6= 24
3. (sc, inc) x 6= 18 32. (2 sc, dec) x 6= 18
4. (2 sc, inc) x 6= 24 33. (sc, dec) x 6= 12
5. (3 sc, inc) x 6= 30 34. Dec x 6= 6
6. (4 sc, inc) x 6= 36 F/O and sew the hole closed
7-8. sc in each st around
Change to warm brown
9-11. sc in each st around
12. (3 sc, inc) x 6, 12 sc= 42
13. (4 sc, inc) x 6, 12 sc= 48
14. (5 sc, inc) x 6, 12 sc= 54
15. (6 sc, inc) x 6, 12 sc= 60
16-24. sc in each st around
Place eyes between rows 13 and 14,
Leaving 14 holes between them. 1st
Eye is placed after the 2nd increase
Between rows 13 and 14, 2nd eye
Is placed after the 4th increase
Between rows 13 and 14. If you want the
Sunken eye look, do not place the backs
Of the eyes until row 28.
25. (8 sc, dec) x 6= 54
26. sc in each st around
27. (7 sc, dec) x 6= 48
28. (6 sc, dec) x 6= 42
29. (5 sc, dec) x 6= 36
Now for the eyes. Stuff the head well.
Cut a long piece of yarn and remove the eyes.
Place the needle in the holes where the eyes were.
Now thread the needle and in a hole next to the eye
Hole, go back and forth between the the two eye
Holes. Pull slightly on the yarn after going through
Each hole. Do this about 3 times on each side until
You reach the look you want. Follow the pictures
For extra assistance.
Body: Arms(Make 2):
With warm brown yarn With coffee yarn
1. Make 6 sc into a magic ring= 6 1. Make 6 sc into a magic ring= 6
2. Increase in each st around= 12 2. Increase in each st around= 12
3. (sc, inc) x 6= 18 3. (sc, inc) x 6= 18
4. (2 sc, inc) x 6= 24 4. (2 sc, inc) x 6= 24
5. (3 sc, inc) x 6= 30 5. (3 sc, inc) x 6= 30
6. (4 sc, inc) x 6= 36 6. BLO sc in each st around
7. (5 sc, inc) x 6= 42 7-8. Sc in each st around
8. (6 sc, inc) x 6= 48 9. (3 sc, dec) x 6= 24
9. (7 sc, inc) x 6= 54 Change to warm brown
10. (8 sc, inc) x 6= 60 10. Sc in each st around
11-15. sc in each st around 11. (6 sc, dec) x 3= 21
16. (8 sc, dec) x 6= 54 12. Sc in each st around
17. sc in each st around 13. (5 sc, dec) x 3= 18
18. (7 sc, dec) x 6= 48 14-15. Sc in each st around
19-20. sc in each st around Start stuffing the legs now
21. (6 sc, dec) x 6= 42 16. Dec, 16 sc= 17
22-23. sc in each st around 17-18. Sc in each st around
24. (5 sc, dec) x 6= 36 19. Dec, 15 sc= 16
25-26. sc in each st around 20-21. Sc in each st around
27. (4 sc, dec) x 6= 30 22. Dec, 14 sc= 15
28-29. sc in each st around 23-24. Sc in each st around
30. (3 sc, dec) x 6= 24 25. Dec, 13 sc= 14
31-32. sc in each st around 26-27. Sc in each st around
33. (2 sc, dec) x 6= 18 28. Dec, 12 sc= 13
F/O and leave a long tail for sewing 29. Sc in each st around
30. Dec, 11 sc= 12
31. sc in each st around
F/O and leave a long tail for sewing
Ears(Make 2 in brown, 2 in cream):
1. Make 6 sc into a magic ring= 6
2. Increase in each st around= 12
3. (sc, inc) x 6= 18
4. (2 sc, inc) x 6= 24
5. (sc, inc, 2 sc) x 2, sc, inc, sc, hdc, ch 1, hdc, (sc, inc, 2 sc) x 3= 31
Do not fasten off the brown ears
Continue with the pattern to crochet the ears together
6. 14 sc, hdc-inc, 2 dc in ch space, hdc-inc, 15 sc= 35
F/O and leave a long tail for sewing
Follow the pictures for assistance
Legs(Make 2): Tail:
Starting with coffee yarn With white yarn
1. Make 6 sc into a magic ring= 6 1. Make 6 sc into a magic ring= 6
2. Increase in each st around= 12 2.
Sc in each st around
3. (sc, inc) x 6= 18 3. (sc, inc) x 3= 9
4. (2 sc, inc) x 6= 24 4. (2 sc, inc) x 3= 12
5. (3 sc, inc) x 6= 30 5-6. Sc in each st around
6. BLO sc in each st around F/O and leave a long tail for sewing
7-8. sc in each st around
9. (3 sc, dec) x 6= 24
Change to warm brown
10. sc in each st around
11. (6 sc, dec) x 3= 21
12. sc in each st around
13. (5 sc, dec) x 3= 18
14-15. sc in each st around
Start stuffing the feet
16. Dec, 16 sc= 17
17-18. sc in each st around
19. Dec, 15 sc= 16
20-21. sc in each st around
Stop stuffing the legs
22. (2 sc, dec) x 4= 12
23. sc in each st around
F/O and leave a long tail for sewing
Antlers(Make 2):
With cream yarn
Tall Points:
1. Make 7 sc into a magic ring= 7
2. BLO sc in each st around
3-16. sc in each st around
F/O and leave a long tail for sewing
Small Points:
1. Make 6 sc into a magic ring= 6
2. BLO sc in each st around
3-7. sc in each st around
F/O and leave a long tail for sewing
Assembly
Head and Body:
1. Pin the head to the body for easier sewing
2. Sew the head onto the body
Arms:
1. For the hooves look. Take some yarn and sew it into the foot in the middle of the
mr and another spot on the hoof. Follow the pictures for help
2. Pin the arms into place in a forward angle
3. Sew them onto the body.
Tip! Closing the seam by crocheting over the opening will make sewing it to the body
easier. Also the arms will lay nicely flat, instead of sticking out.
Legs:
1. Turn the body facing away from you. Pin the legs on the bottom of the body.
2. Sew the legs onto the body.
Ears and Nose:
1. Pinch the ears together and sew them to give them shape
2. Pin the ears onto the head and sew them in place
3. Cut a piece of black felt for the nose. About 1 ½ inches and glue on the nose
Tail:
1. Pin the tail onto the body
2. Sew the tail onto the body
Antlers:
1. You can choose to stuff the antlers but what I did was insert pipe cleaners inside to
make them bendable.
2. Fold a pipe cleaner in half and twist it and insert them into the antler
3. Sew the small prongs onto the large antler and then pin them on.
4. Sew the antlers onto them.
You have your finished Buck the Deer!
Amigurumi More Deer İdeas
