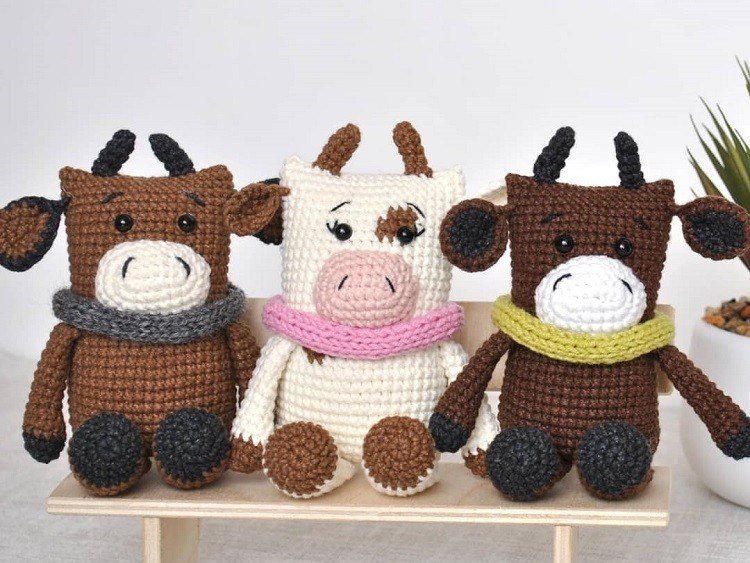
Amigurumi Bull Free Pattern
Hello amigurumi lovers and beautiful visitors, I wanted to share the free amigurumi patterns for you here. In my article I will share 1 pattern and how to make it for you. At the end of my article, I will share amigurumi patterns that can generate ideas for you.
You will need:
- YarnArt Jeans yarn #40 (brown), #28 (black), #03 (white) and #29 for snood
- 2.0 mm crochet hook
- 2.5 mm knitting needles
- 6 mm safety eyes
- Black yarn for embroidery nostrils and eyebrows
- Yarn needle and scissors
- Fiberfill
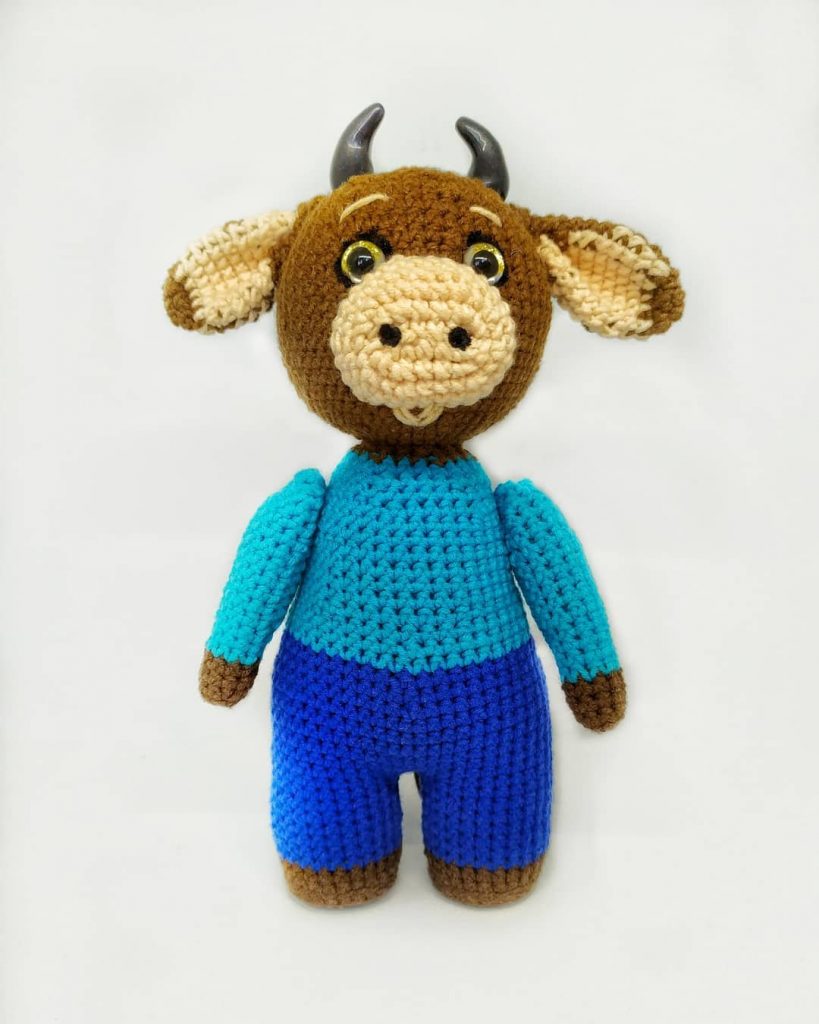
Height: 16 cm (6.2”).
Abbreviations:
R — row
ch — chain
sc — single crochet
inc — increase
dec — decrease
FLO — front loop only
[…] – number of stitches you should have at the end of the row
(…) – repeat whatever is between the brackets the given number of times
Arms (make 2)
With black yarn:
R 1: 6 sc in magic ring [6]
R 2: (inc) repeat 6 times [12]
R 3: 12 sc
Change to brown yarn:
R 4-5: 12 sc (2 rows)
R 6: 3 sc, 3 dec, 3 sc [9]
R 7-14: 9 sc (8 rows)
Stuff the bottom part of the arm.
Fold the top opening flat and 4 sc through both sides.
Leave a long tail for sewing.
Ears
With black yarn: (make 2)
R 1: 6 sc in magic ring [6]
R 2: (inc) repeat 6 times [12]
R 3: (1 sc, inc) repeat 6 times [18]
Fasten off.
With brown yarn: (make 2)
R 1: 6 sc in magic ring [6]
R 2: (inc) repeat 6 times [12]
R 3: (1 sc, inc) repeat 6 times [18]
Don’t cut the yarn.
Put the black ear on the brown ear (wrong side to wrong side) and crochet through the stitches of both parts around: 18 sc
Fold the ear and crochet 2 sc.
Fasten off and leave a long tail for sewing.
Legs, body and head are crocheted as a single part.
Legs (make 2)
With black yarn:
R 1: 6 sc in magic ring [6]
R 2: (inc) repeat 6 times [12]
R 3: (1 sc, inc) repeat 6 times [18]
R 4: (2 sc, inc) repeat 6 times [24]
Change to brown yarn:
R 5-6: 24 sc (2 rows)
R 7: 6 sc, 6 dec, 6 sc [18]
R 8: 6 sc, 3 dec, 6 sc [15]
R 9-12: 15 sc (4 rows)
Stuff the bottom part of the leg.
R 13: 4 sc only
Fold the top opening flat and 7 sc through both sides.
Fasten off.
Body and head
With brown yarn:
Join the yarn to the 1st leg (toes must be straight to you) and make 7 sc on the 1st leg, 3 ch, 7 sc on the 2nd leg
Continue crocheting in the round:
R 1: crochen on the back of the body – FLO: 7 sc, 3 sc in 3 ch, FLO: 7 sc, crochet on the fron of the body: FLO: 7 sc, 3 sc in 3 ch, FLO: 7 sc [34]
Place the yarn marker after R 1.
R 2: 16 sc, inc, 16 sc, inc [36]
R 3: (5 sc, inc) repeat 6 times [42]
R 4: 24 sc, (inc, 6 sc) repeat 2 times, inc, 3 sc [45]
R 5-12: 45 sc (8 rows)
R 13: 24 sc, (dec, 6 sc) repeat 2 times, dec, 3 sc [42]
R 14: 42 sc
In the next row we will join arms.
R 15: 20 sc, 4 sc together with sc of the 1st arm, 14 sc, 4 sc together with sc of the 2nd arm [42]
R 16-28: 42 sc (13 rows)
Insert safety eyes between R 24 and R 25 at the distance of 6 st from each other.
In the next row we will join ears.
R 29: 2 sc together with sc of the 1st ear, 22 sc, 2 sc together with sc of the 2nd ear, 16 sc [42]
R 30-31: 12 sc (2 rows)
Fold the top opening flat and sew both sides together.
Fasten off.
Muzzle
With white yarn:
Make 7 ch.
Make an oval, starting from the 2nd ch from hook, work on both sides of the chain.
R 1: from the 2nd ch from hook: 5 sc, 3 sc in last st, turn: 4 sc, inc [14]
R 2: inc, 4 sc, 3 inc, 4 sc, 2 inc [20]
R 3: 1 sc, inc, 4 sc, (1 sc, inc) repeat 3 times, 4 sc, (1 sc, inc) repeat 2 times [26]
R 4: 26 sc
Fasten off and leave a long tail for sewing.
Horns (make 2)
With black yarn:
R 1: 5 sc in magic ring [5]
R 2-5: 5 sc (4 rows)
Don’t stuff with fiberfill.
Fasten off and leave a long tail for sewing.
Snood scarf
Cast on 6 stitches with 2.5 mm knitting needles.
The snood is knitted in stockinette stitch (1 row knit, next row purl).
Knit as long as you wish.
Fold piece and sew edges together.
Fasten off.
Assembly
Sew muzzle to the head between R 16 and R 23. Put some stuffing inside the muzzle before you finish.
Embroider nostrils and eyebrows with black yarn.
Sew horns at the distance of 3-4 st from the edges of the head.
Feel free to tag me (@freeamigurumii) in your photos on Instagram or Facebook if you’d like!
All Finished.
