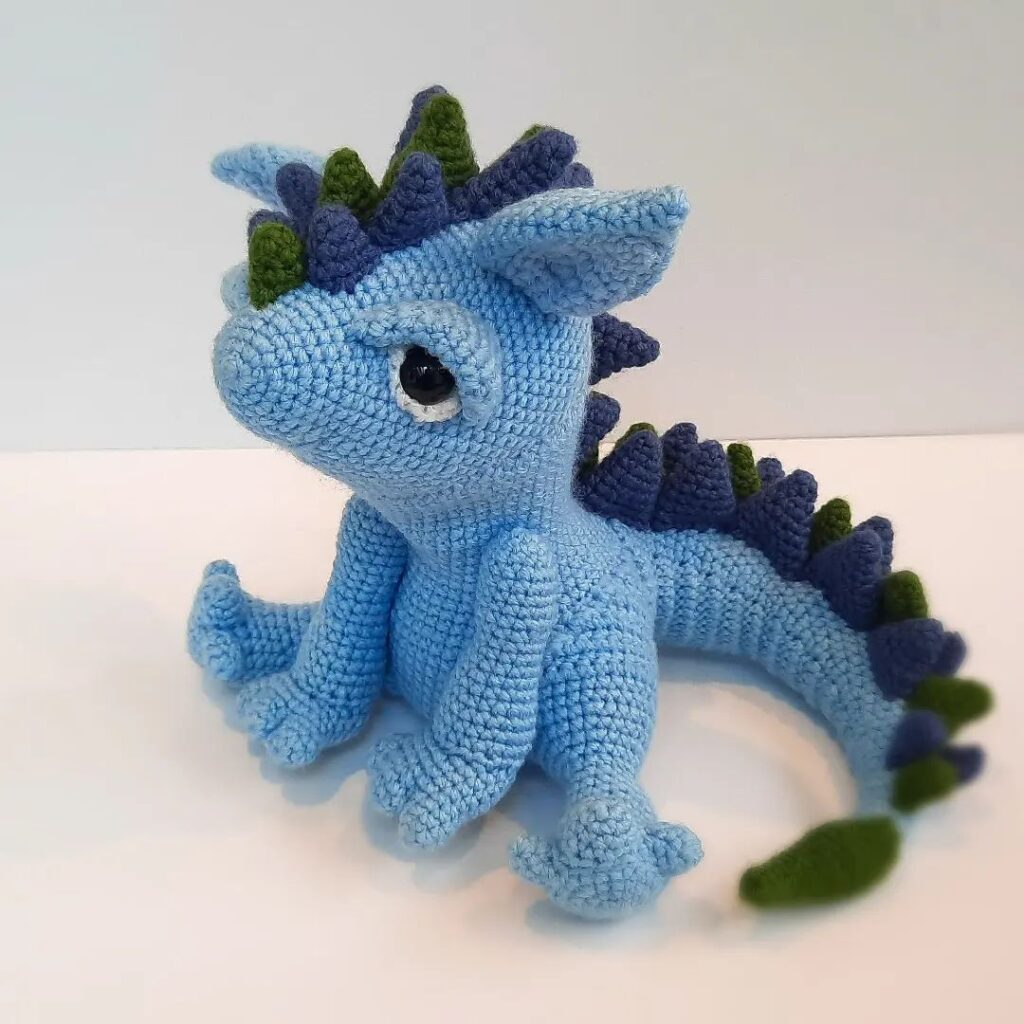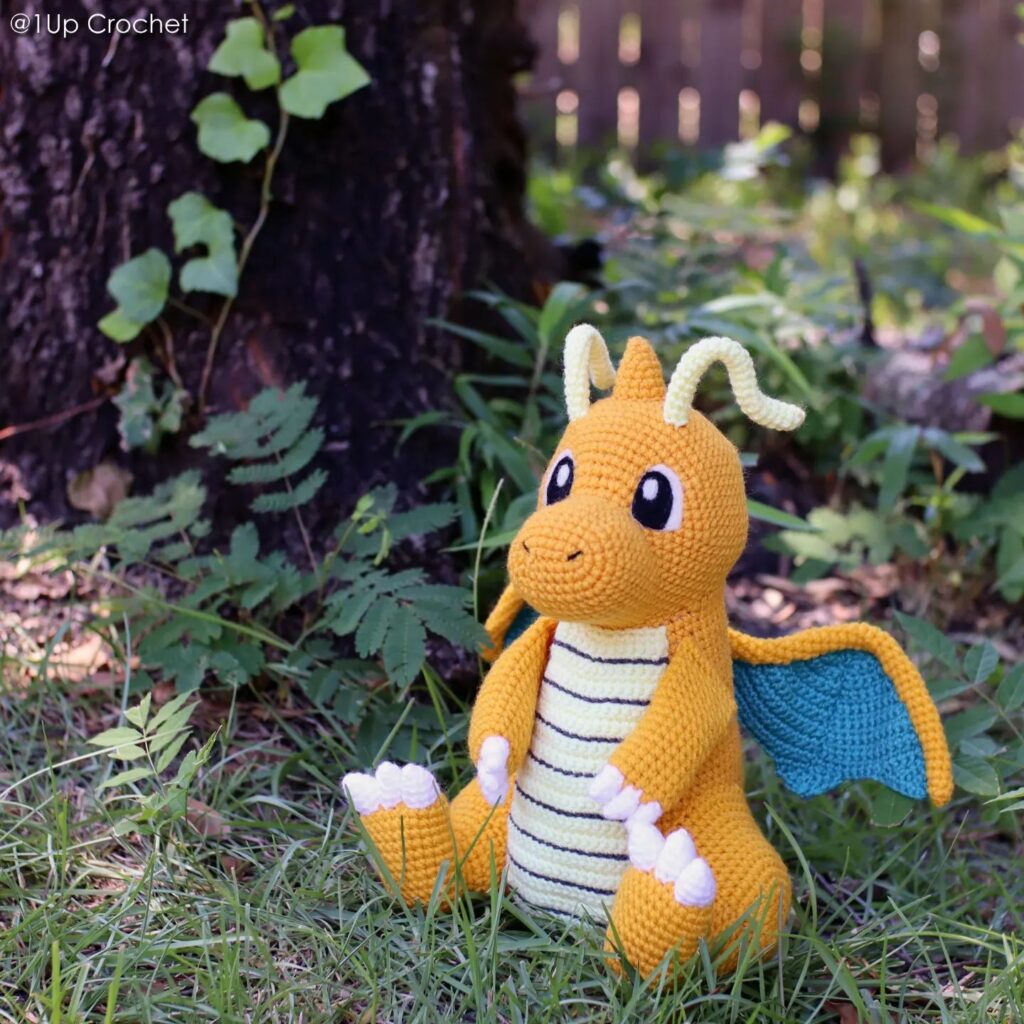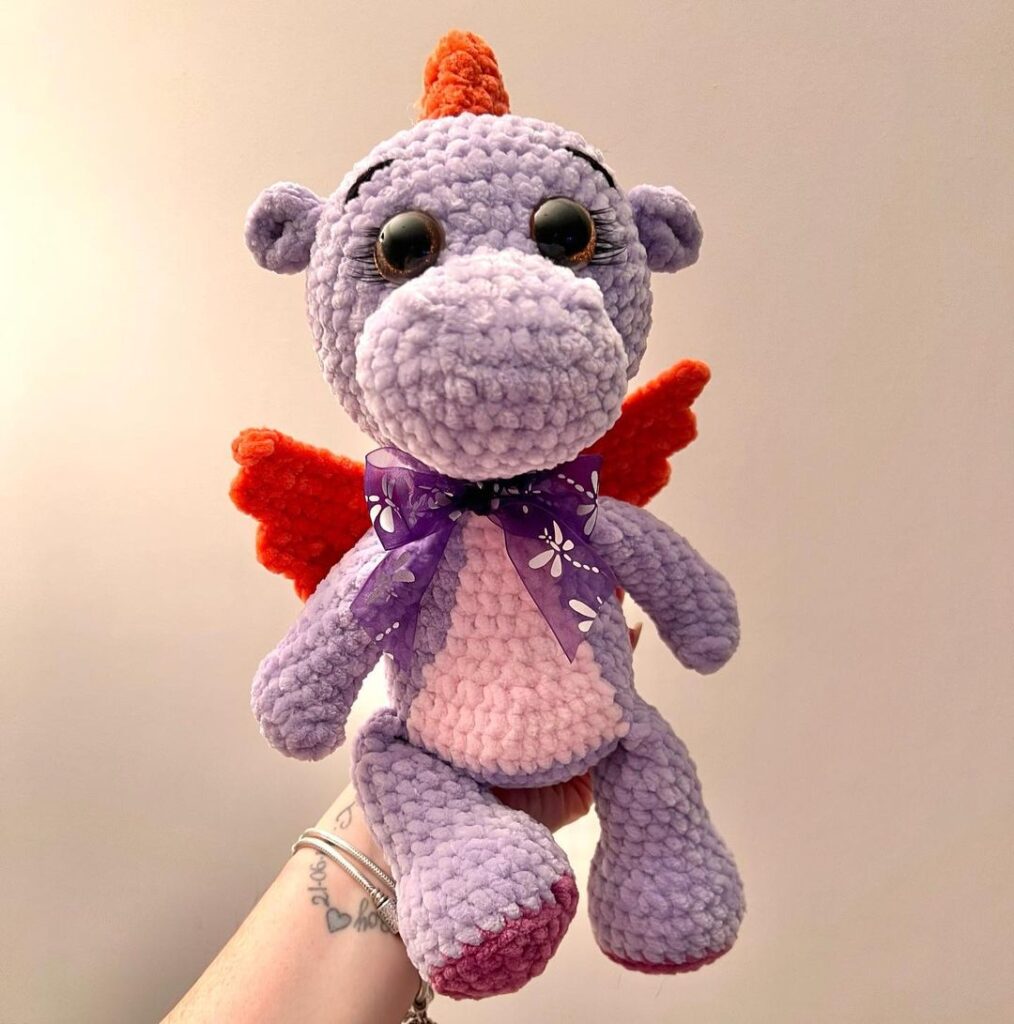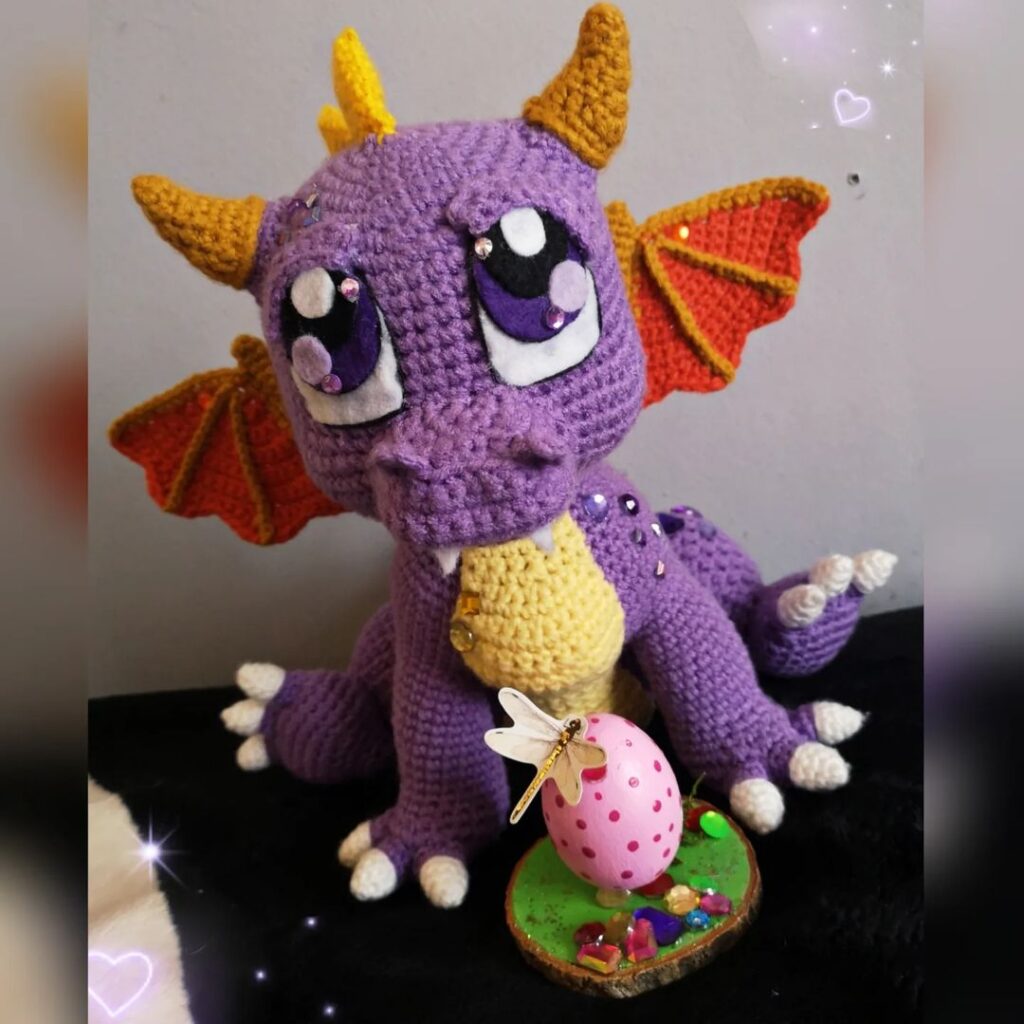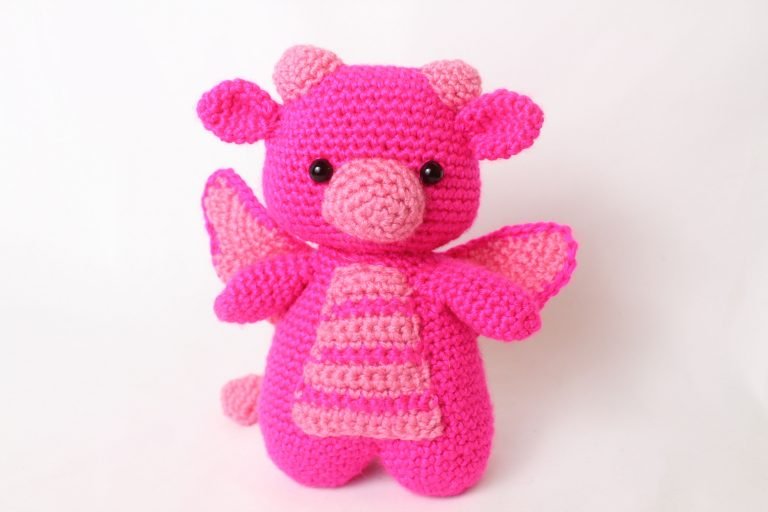
Amigurumi Dragon Crochet Pattern
Hello amigurumi lovers and beautiful visitors, I wanted to share the free amigurumi patterns for you here. In my article I will share 1 pattern and how to make it for you. At the end of my article, I will share amigurumi patterns that can generate ideas for you.
Supplies:
4/Medium weight yarn in…
Main Color (I used green)
Contrast Color (I used yellow)
4mm crochet hook
9mm safety eyes, tapestry needle, scissors, and stuffing.
Additional Information:
Difficulty: Easy
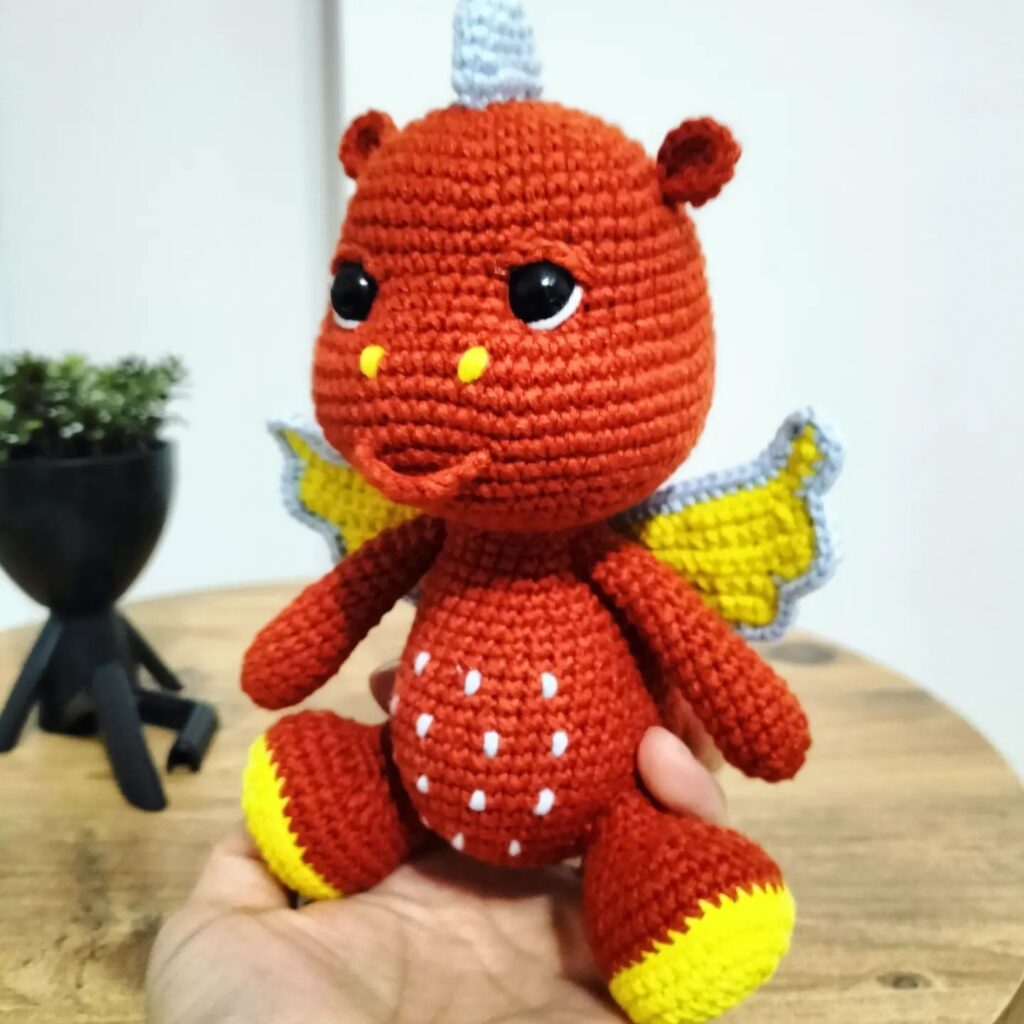
To make the dragon, we start by creating the head. We then make all of the head parts, such as the nose, horns, and ears. Next, we make the body. The body starts with two legs, then crochet the two legs together to form the body. We make the arms, chest, tail, wings, and finally you can make an optional tooth and cute eyes.
Note May 27, 2020: I added clarifications and photos to Round 1 of the head, as it’s much easier to understand that way. I also added this to the PDF. If you have purchased the PDF prior to this update, you can simply redownload the pattern from the email sent when you purchased the pattern titled “Your StringyDingDing Download is Now Available”. The updated version will download.
Thank you for Tammy’s kind comment to let me know she had trouble with the head! Comments like this help me improve patterns for the future, so if you have trouble with something please let me know! It’s likely to help others as well
Head:
In Main Color
Please note that the head is worked in rounds. We will make a chain and work around the chain in a round.
Round 1: Ch 13. Sc in 2nd ch from the hook 3 times. Add a stitch marker to the very first single crochet made. Sc in the next 10 st, Sc 3 times in the next st. Now we are at the end of the chain. We will start working on the other end of the chain. Sc next 10 st on the other side of the chain (26)
Round 2: *Inc* in the next 3 st, Sc in the next 10 st, *Inc* in the next 3 st, Sc in the last 10 st (32)
Round 3-5: *Sc* all around (32)
Round 6: Sc in the next 3 st, *Inc* in the next 3 st, Sc in the next 13 st, *Inc* in the next 3 st, Sc in the last 10 st (38)
Round 7-8: *Sc* all around (38)
Round 9: Sc in the next 5 st, *Inc* in the next 3 st, Sc in the next 16 st, *Inc* in the next 3 st, Sc in the last 11 st (44)
Round 10: *Sc* all around (44)
Round 11: Sc in the next 16 st. Sc in the next st and add a different colored st marker to the Sc just made. This marks where to place the eye. Sc in the next 7 st. Sc in the next st and add a different colored st marker to the Sc just made. Sc in the last 19 st (44)
Round 11 Eye Markers Pictured Below
Round 12-16: *Sc* all around (44)
Round 17: Sc in the next 7 st, *Dec* 3 times, Sc in the next 16 st, *Dec* 3 times, Sc in the last 9 st (38)
Round 18: Sc in the next 6 st, *Dec* 3 times, Sc in the next 13 st, *Dec* 3 times, Sc in the last 7 st (32)
Round 19: Sc in the next 4 st, *Dec* 3 times, Sc in the next 10 st, *Dec* 3 times, Sc in the last 6 st (26)
Round 20: Sc in the next 3 st, *Dec* 3 times, Sc in the next 7 st, *Dec* 3 times, Sc in the next 4 st (21)
Finish off. Add the safety eyes in the marked areas from Round 11 now. Stuff the head and set the head aside for now.
Nose:
In Contrast Color
Round 1: 7 Sc in Magic Ring (7)
Round 2: Sc in the next 2 st, *Sc* 3 times in the next st, Sc in the next 2 st, *Sc* 3 times in the next st, Sc in the last st (11)
Round 3: Sc in the next 3 st, *Sc* 3 times in the next st, Sc in the next 4 st, *Sc* 3 times in the next st, Sc in the next 2 st (15)
Round 4-5: *Sc* all around (15)
Finish off, leaving a long tail for sewing. Pin the nose below & between the two eyes as shown. Sew on, making sure to stuff the nose before fully sewing shut. Weave in ends.
Horns: (Make 2)
In Contrast Color
Round 1: 6 Sc in Magic Ring (6)
Round 2: *Sc* all around (6)
Round 3: *Inc* all around (12)
Round 4-5: *Sc* all around (12)
Finish off and leave a long tail for sewing. Pin each horn to the top of the head as shown. Sew on, making sure to stuff the horn before fully sewing closed.
Ears: (Make 2)
In Main Color
Round 1: 6 Sc in Magic Ring (6)
Round 2: *Sc* all around (6)
Round 3: *Inc* all around (12)
Round 4-7: *Sc* all around (12)
Round 8: *Dec* all around (6)
Finish off and leave a long tail for sewing. Pin each ear to each side of the dragon as shown. Sew on.
Body:
To start the dragon, we create the body. When we make the body, we start by making two legs. We crochet these legs together, which will then start forming the body. So the legs and body are one piece.
In Main Color
Round 1: 6 Sc in Magic Ring (6)
Round 2: *Inc* all around (12)
Round 3: In BLO (Back Loop Only), *Inc in the next st, Sc in the next st* all around (18)
Round 4: In BOTH Loops, *Sc* all around (18)
Round 5: *Inc, Sc 2* all around (24)
Round 6-7: *Sc* all around (24)
Round 8: *Inc, Sc 3* all around (30)
Note: Only do Round 9 when making the first leg. DON’T do Round 9 when making the second leg. Instead when making the second leg, continue on to Round 10.
Round 9: *Sc* all around (30)
Round 10: On the second leg, Sc in the next 18 st. Now, take the first leg and line up the stitches next to each other.
Legs: (Make 2)
We will be crocheting through both leg stitches at once. Going through both legs, Sc in the next 6 st.
Continuing on the second leg only, Sc in the next 6 st
(Stitch Count: 18 st on first leg, 18 st on second leg, 6 st connecting both legs)
Round 11: Sc in the next 18 st. Now we meet the first leg. Sc in the next 24 st on the first leg.
Now we meet the second leg. Sc in the next 6 st on the second leg (48)
Round 12-15: *Sc* all around (48)
Round 16: *Dec, Sc 6* all around (42)
Round 17-19: *Sc* all around (42)
Round 20: *Dec, Sc 5* all around (36)
Round 21-23: *Sc* all around (36)
Round 24: *Dec, Sc 4* all around (30)
Stuff the body here. Continue adding stuffing after each round.
Round 25-27: *Sc* all around (30)
Round 28: *Dec in the next st, Sc in the next st* 9 times. Sc in the last 3 st (21)
Finish off. Set the body aside for now.
Attaching The Head To The Body:
In Main Color
Pin the head to the body as shown. Place the tail of yarn left from the head onto a needle. Now sew the head to the body going from the neck stitch up to the head stitch. Repeat these steps around. Before fully sewing closed, place extra stuffing in the neck and head to support the neck. Done!
Arms: (Make 2)
In Main Color
Round 1: 6 Sc in Magic Ring (6)
Round 2: *Sc* all around (6)
Round 3: *Inc* all around (12)
Round 4-12: *Sc* all around (12)
Finish off and leave a long tail for sewing. Stuff the arm now. Next, pin each arm onto the dragon as shown. Sew on.
Chest:
Note: There are a few color changes made in the chest. This can create a lot of ends to weave in. I don’t mind weaving in ends, but if you really dislike weave them in then you can do a few things. First, you can carry your yarn through the piece. The second option is you can crochet the chest all in one color.
Chest:
In Main Color
Row 1: Ch 13. Sc in the 2nd Ch from the hook. Sc in the next 11 st (12)
Row 2: Turn, Sc in the next 12 st (12)
Row 3: Change to Main Color. Sc in the next 12 st (12)
Row 4: Change to Contrast Color. Turn, skip the first stitch and single crochet in the next st. Sc in the next 8 st. Skip the next st and Sc in the last st (10)
Row 5-6: Turn, Sc in the next 10 st (10)
Row 7: Change to Main Color. Turn, skip the first stitch and single crochet in the next st. Sc in the next 6 st. Skip the next st and Sc in the last st (8)
Row 8-10: Change to Contrast Color. Turn, Sc in the next 8 st (8)
Row 11: Change to Main Color. Turn, skip the first stitch and single crochet in the next st. Sc in the next 4 st. Skip the next st and Sc in the last st (6)
Row 12-14: Change to Contrast Color. Turn, Sc in the next 6 st (6)
Finish off. Weave in any ends. Now, pin the chest onto the dragon and sew on.
Tail:
In Main Color
Row 1: Ch 23. Dc in the 2nd Ch from the hook. Dc in the next 21 st (22)
Finish off and leave a long tail of yarn for sewing. Set tail aside for now.
Tail Tip:
In Contrast Color
Round 1: 6 Sc in Magic Ring (6)
Round 2: *Sc* all around (6)
Round 3: *Inc* all around (12)
Round 4-5: *Sc* all around (12)
Finish off and leave a long tail for sewing.
Tail Assembly:
In Main Color
Insert the tail into the tail tip as shown. Sew the tail tip closed, then sew the tail end/tip to the tail, and finally sew the other end of the tail tip closed. Now, pin the tail to the dragon as shown. Sew on.
Right Side Wing:
In Contrast Color
Row 1: Ch 13. Sc in the 2nd Ch from the hook, Sc in the next 11 ch (12)
Row 2: Turn, *Inc* in the first st, Sc in the next 11 st (13)
Row 3: Turn, Sc in the next 12 st, *Inc* in the last st (14)
Round 4: Turn, *Inc* in the first st, Sc in the next 13 st (15)
Row 5: Turn, Sc in the next 14 st, *Inc* in the last st (16)
Row 6: Turn, *Inc* in the first st, Sc in the next 15 st (17)
Row 7: Turn, Sc in the next st, *Dc* 3 times in the next st, Sc in the next 3 st, *Dc* 5 times in next st, Sc in the next 3 st, *Dc* 5 times in the next st, Sc in the next 3 st, Dc in the last 4 st (27)
Finish off. Now we will outline the wing in the Main Color. To learn how, refer to “Wing Outline Assembly”.
Left Side Wing:
In Contrast Color
Row 1: Ch 13. Sc in the 2nd Ch from the hook, Sc in the next 11 st (12)
Row 2: Turn, Sc in the next 11 st, *Inc* in the last st (13)
Row 3: Turn, *Inc* in the first st, Sc in the next 12 st (14)
Row 4: Turn, Sc in the next 13 st, *Inc* in the last st (15)
Row 5: Turn, *Inc* in the first st, Sc in the next 14 st (16)
Row 6: Turn, Sc in the next 15 st, *Inc* in the last st (17)
Row 7: Turn, Dc in the next 4 st, Sc in the next 3 st, *Dc* 5 times in the next st, Sc in the next 3 st, *Dc* 5 times in the next st, Sc in the next 3, *Dc* 3 times in the next st, Sc in the last st (27)
Finish off. Now we will outline the wing in the Main Color. To learn how, refer to “Wing Outline Assembly”.
Wing Outline Assembly:
In Main Color
Insert your crochet hook into the top corner as shown. Pull Main Color yarn through the corner of the wing.
Now, single crochet around the entire wing. This is a little wonky to do, since it may be hard to tell where a single crochet can go. No worries, it doesn’t have to be perfect! Just crochet around, turning to the other sides when you meet them.
Once you’ve outlined the wings, pin each wing to the back as shown. Sew on.
Tooth: (Optional)
In White
Row 1: Ch 3. SlSt in the 2nd Ch from the hook, Sc in the next Ch.
Finish off and pin to the nose as shown. Sew on.
Eye Whites: (Optional)
In White
Insert needle with thread around the right eye, and pull out in the top right corner of the right eye. Reinsert needle into the bottom left corner of the right eye. Pull needle out at the bottom right corner of the left eye, and reinsert needle into the top left corner of the right eye. Pull needle with thread out of original insertion spot. Tie a knot with the toe ends of yarn and weave them into the dragon.
Done! I hope you enjoyed this pattern. Making it took forever to create much to my surprise! So I hope you really like it, a lot of hard work and love went into it
Feel free to tag me (@freeamigurumii) in your photos on Instagram or Facebook if you’d like!
All Finished.
