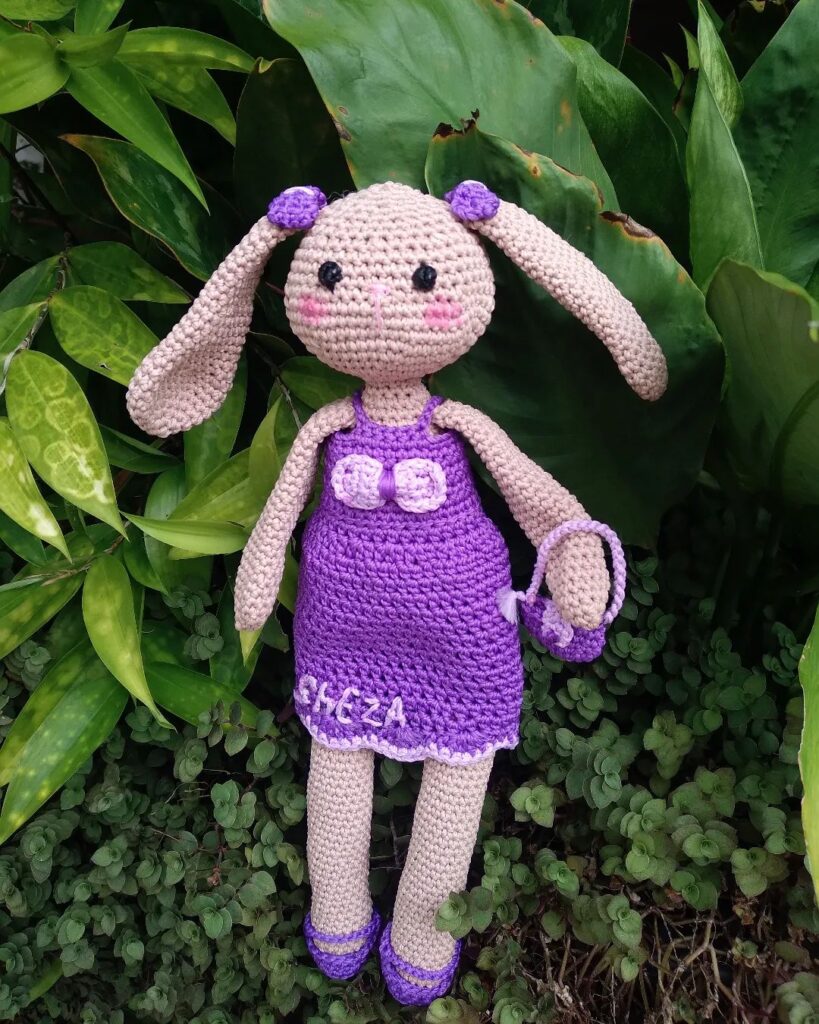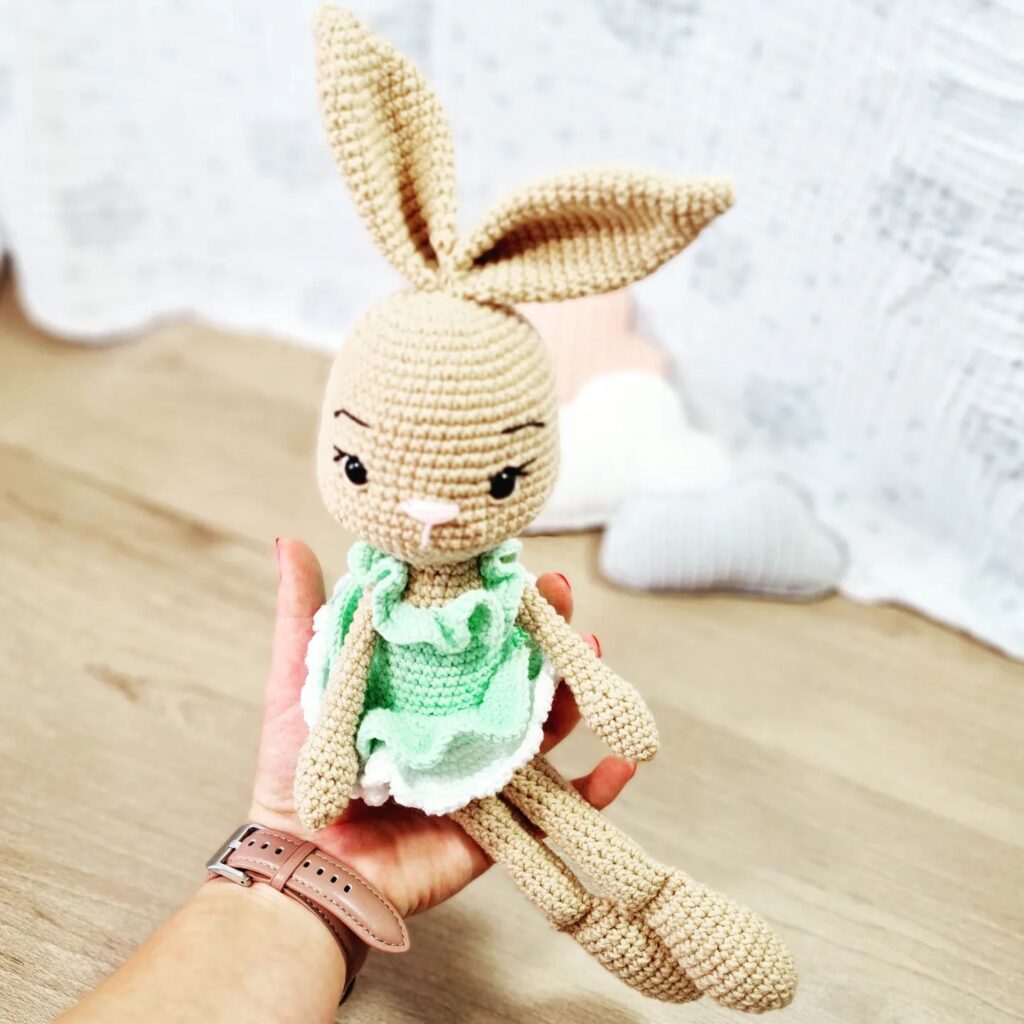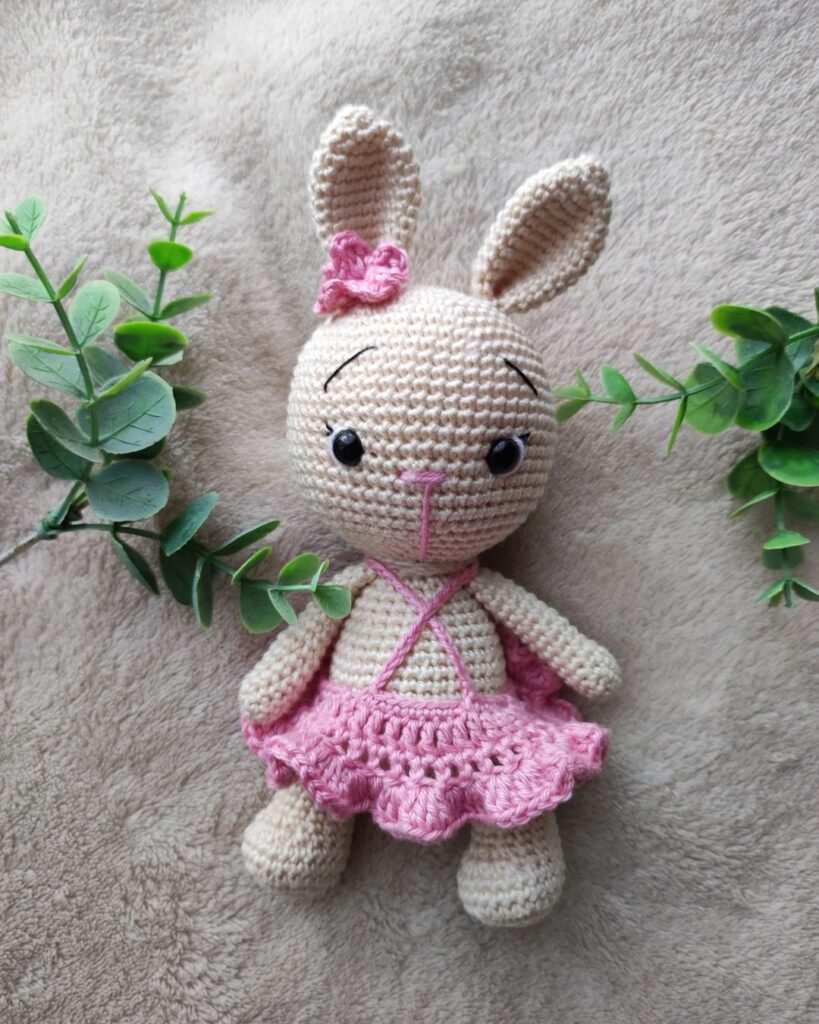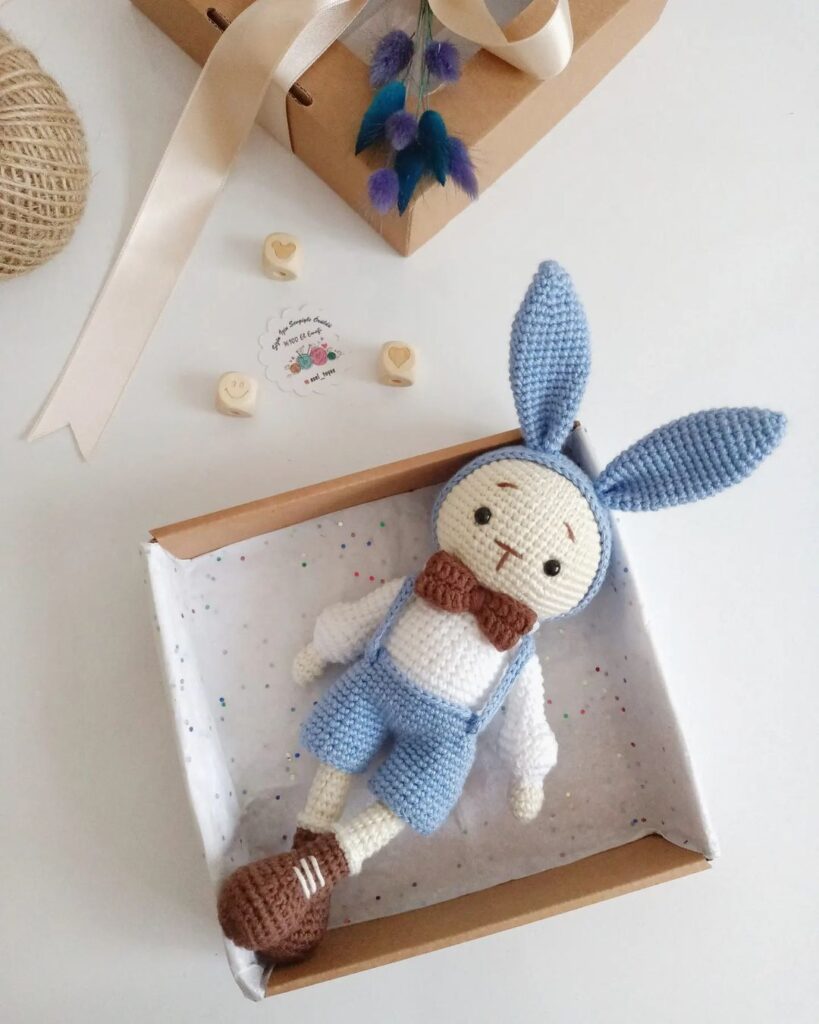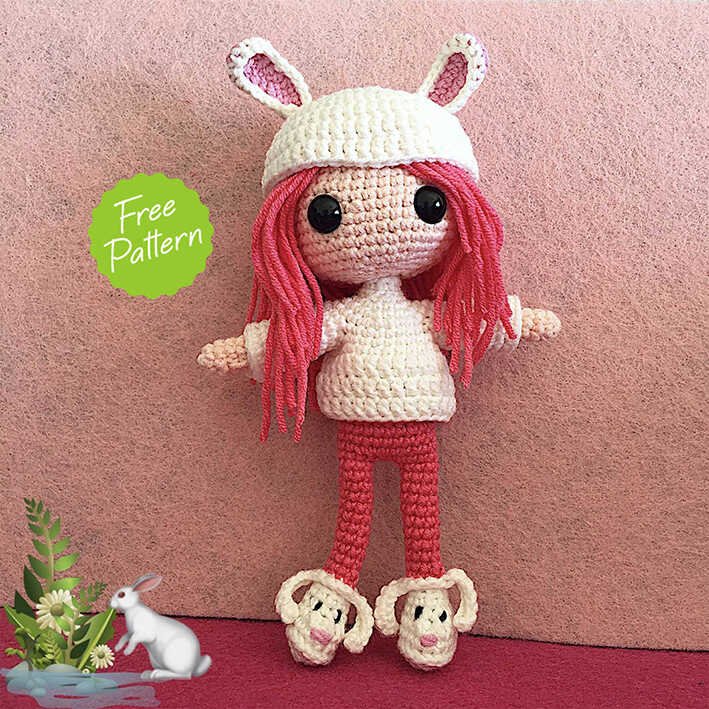
Amigurumi Doll Bunny Crochet Pattern
Hello amigurumi lovers and beautiful visitors, I wanted to share the free amigurumi patterns for you here. In my article I will share 1 pattern and how to make it for you. At the end of my article, I will share amigurumi patterns that can generate ideas for you.
Abbreviations
mr: magic ring
ch: chain
slst: slip stitch
Sc: single crochet
inc: increase
dec: decrease
hdc: half double crochet
hdc-dec: half double crochet decrease
dc: double crochet
dc – inc: double crochet increase
BLO: back loop only
FLO: front loop only
rnds: rounds
sts: stitch
Hook Size: 2.00 mm
Shoes (x2)
Rnd 1: Start with the white yarn. make 6 ch, start in the second stitch from the hook, 4sc, 3sc in the last stitch, 3sc in the other side of ch, 1 inc = 12
Rnd 3: Make 1 ch, insert your hook to the next sts from the back and don’t yarn over the hook and insert your hook to the next sts from the front, yarn over and pull the hook through these 2 stitches and make Isc. Repeat it 17 times more.
Rnd 4: 18sc
Rnd 5: 4sc, 3 hdc-dec, 8sc = 15
Rnd 6: 5( 1sc, 1 dec) = 10
Rnd 7: 10sc
Rnd 8: BLO 10sc, change to the pink
Rnd 9: BLO 10sc
– we are going on with the legs.
The Details of the Shoes
– insert the hook into the last stitch of the FLO of the 8th round. 3sc, make 9 ch, start in the 2nd stitch from the hook 8sc, 5sc into the next sts, make 9 ch, start in the 2nd stitch from the hook 8sc, 2sc into the next sts. Apply the nose and eyes details on the shoes.
Legs
Rnd 10: 2 (3sc, 1dec)= 8
Rnd 11-19: 8sc (9 rnds)
– End the first leg. Do not end the second leg, make 3ch, insert the hook into the first leg.
Rnd 20: 8sc, 3sc into the ch, 8sc, 3sc into the ch= 22x
– we are going on with the body.
Body
Rnd 21-25: 22sc (5 rnds), change to white yarn
Rnd 26: BLO 22sc
Rnd 27-29: 22sc(3 rnds)
Rnd 30: 5(2sc, 1 dec), 2sc = 17
Rnd 31: 17sc
Rnd 32: 5(1sc, 1 dec)= 12
Rnd 33-34: 12sc (2 rnds)
Rnd 35: 4 (1sc, 1 dec)= 8
Rnd 36-41: 8sc (6 rnds)
Rnd 42: 4 dec and cut the yarn
Head
Rnd 1: with skin color 6sc in mr = 6
Rnd 2: 6 inc= 12
Rnd 3: 6 (1sc, 1 inc)= 18
Rnd 4: 6 (2sc, linc)= 24
Rnd 5: 1sc, 1 inc, 5 (3sc, 1 inc), 2sc = 30
Rnd 6: 6 (4sc, 1 inc)=36
Rnd 7: 2sc, 1 inc, 5 (5sc, 1 inc), 3sc =42
Rnd 8-12: 42sc (5 rnds)
Rnd 13: 6 (6sc,1 inc) = 48
Rnd 14-17: 48sc(4 rnds)
Rnd 18: 8 (4sc, 1dec)= 40
Rnd 19: 8 (3sc, Idec)= 32
– insert the safety eyes between the round 13 and 14 and there should be 8 sts between the eyes. start to stuff the head.
Rnd 20: 8(2sc, 1dec)= 24
Rnd 21: 8(1sc, 1dec)= 16
Rnd 22: 3(2sc, 1dec), 4sc = 13
Rnd 23-28: 13sc (6 rnds)
Rnd 29: 6dec, Isc = 7 and cut the yarn.
– push the piece that is shaped at the end of the head into the head by using a pencil or the handle of the hook. Apply hair to the head.
Arms (x 2)
Rnd 1: start with skin color 6sc in mr = 6
Rnd 2: 2(2sc ,1 inc)= 8
Rnd 3-14: 8sc (12 rnds), cut the yarn but leave a long tail to sew the arms. sew the arms between the 8th and 9th rnds of the body.
Sweater
– start with the white yarn, make 12 ch, insert the hook into the first ch to make a circle.
Rnd 1: 12sc
Rnd 2: 6 (1sc, 1 inc)= 18
Rnd 3: 6 (2sc, 1 inc)= 24
Rnd 4: 6 (3sc, 1 inc)= 30
Rnd 5: 5sc, make 6 ch, skip 6 sts, 8sc, make 6 ch, skip 6 sts, 5sc = 30
Rnd 6-7: 30sc (2 rnds)
Rnd 8-9: 3( 2 ch, 30dc)(3 rnds), cut the yarn and fasten off.
Arms Of The Sweater
– Start with the white yarn, insert the hook into the stitch on the armpit, make 14sc.
– 14sc during 8 rounds, cut the yarn.
Hat
Rnd 1: Make a mr with the white yarn and make 2ch. make 12dc into the mr, pull the yarn and make a slst into the first dc. (make the slst at the end of each round) = 12 dc
Rnd 2: 2ch, 12 (1 dc-inc)= 24 dc
Rnd 3: 2ch, 12 (1 dc, 1 dc-inc)= 36 dc
Rnd 4: 2ch, 12 ( 2dc, 1 dc-inc)= 48 dc
Rnd 5-7: (start the rounds with 2 ch) 48dc (3 rounds)
The Ears Of The Hat
Make 9 ch with the pink yarn, start in the 2nd stitch from the hook, 3sc, 3 hdc, 1dc, 5dc in the last stitch, (into the other sts of the chain) 1dc in the first stitch, 3hdc, 3sc. Change to the white yarn, make 19sc around the ears, make 2 ears, sew them on the 3rd lines of the hat.
Finished…
Feel free to tag me (@freeamigurumii) in your photos on Instagram or Facebook if you’d like!
All Finished.
