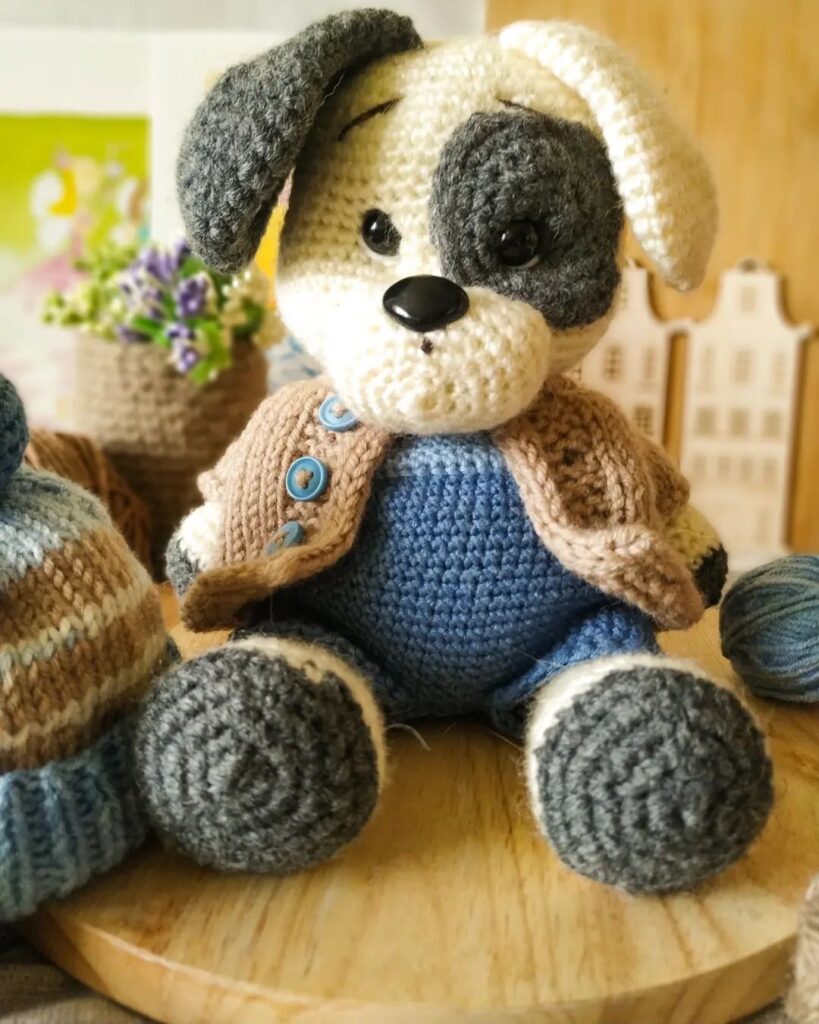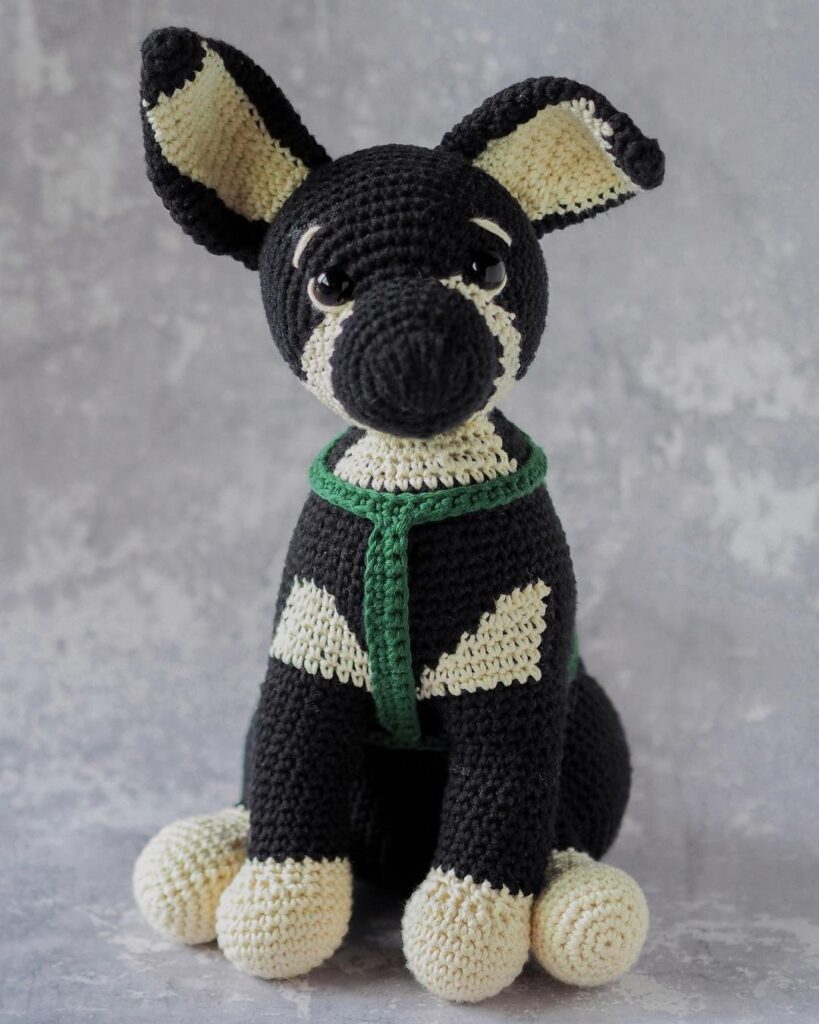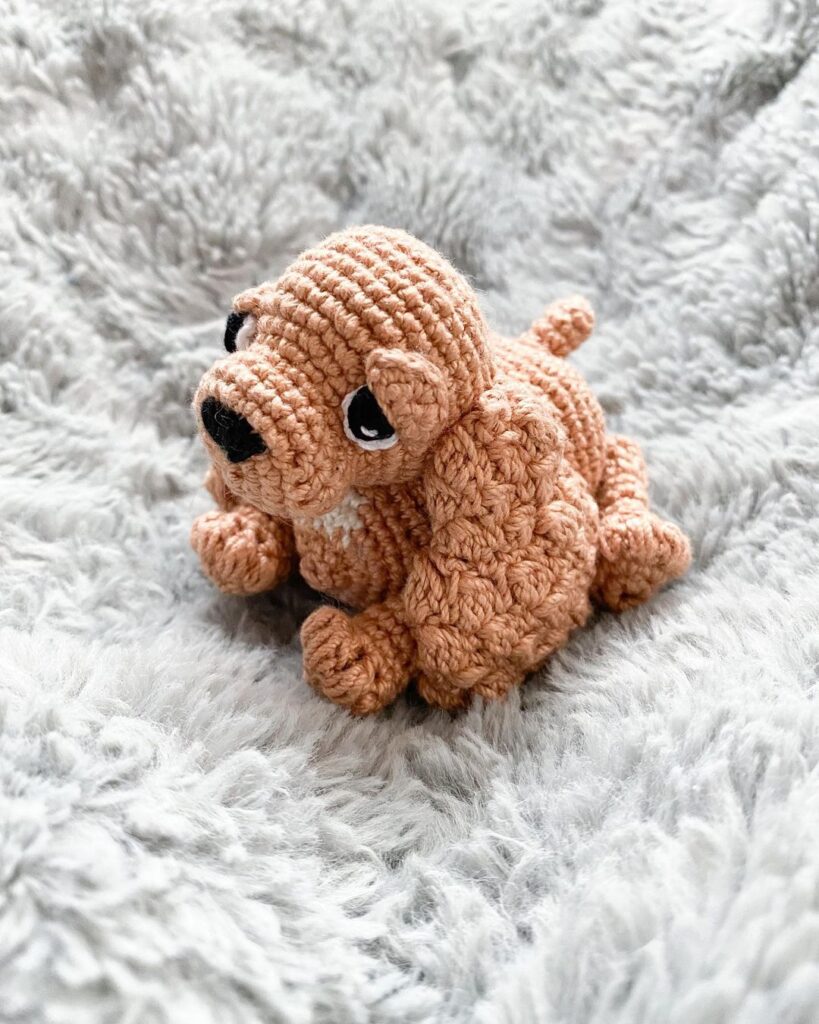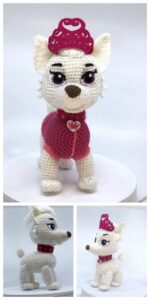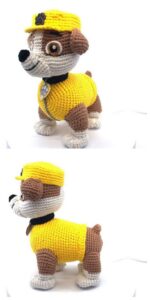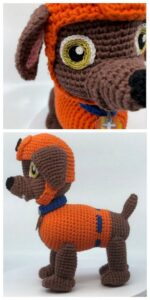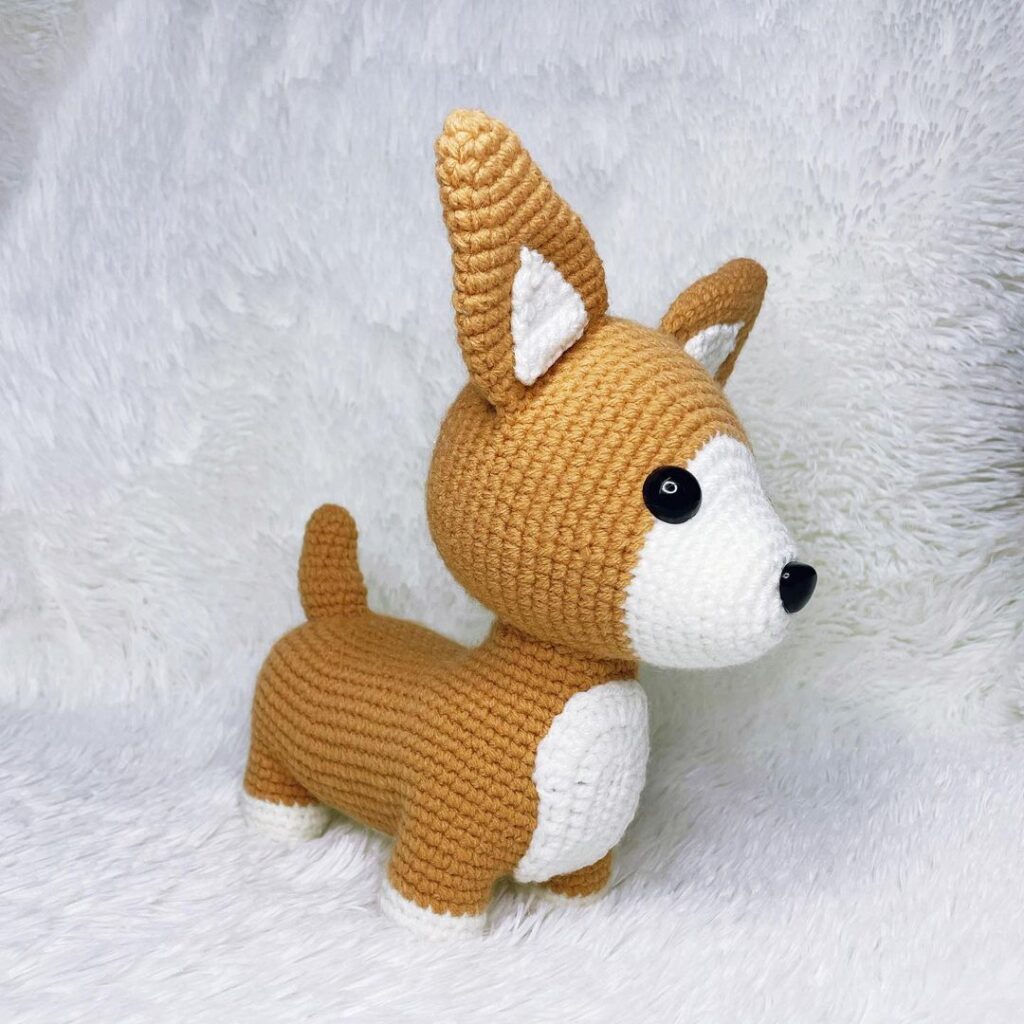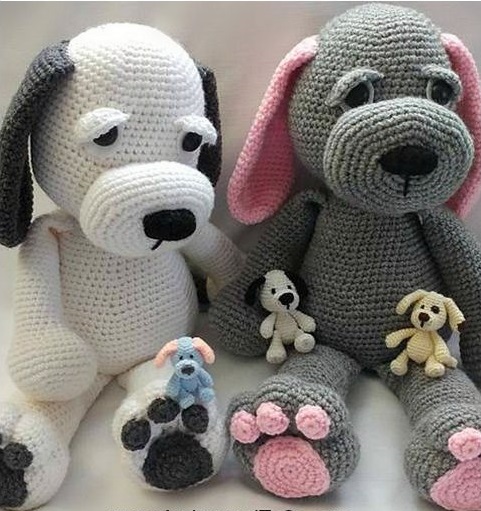
Amigurumi Dog Crochet Pattern
Hello amigurumi lovers and beautiful visitors, I wanted to share the free amigurumi patterns for you here. In my article I will share 1 pattern and how to make it for you. At the end of my article, I will share amigurumi patterns that can generate ideas for you.
Supplies:
1 roll of Red Heart Comfort yarn or 2 rolls of Red Heart Super Saver.
For the white puppy pictured I used 1 full roll of Super Saver (364 yrds) to make the head, body, arms, muzzle, and eyelids. I used a small amount of the 2nd roll to make the legs.
A small amount of an alternate color to make the ears, tail, and paw pads. Small amount of yarn for nose.
Important: This pattern will be difficult to do if you use a cotton yarn, I strongly recommend an acrylic, however, if you want to try it in miniature than a cotton will work fine. This pattern requires a tighter tension when decreasing the neck area and last few rows of the body so an acrylic will be much easier on your hands.
With the yarns I used, a 4.25mm hook
blunt end yarn needle for sewing
scissors
Eyes: you can use buttons, felt, paint, safety eyes or crochet them. It’s up to you. I used 20mm safety eyes on the pups pictured. You can even go bigger, I think larger eyes would be cute but I didn’t have any larger ones.
20 ounce bag of polyester stuffing. You will use most of it.
Abbreviations:
st = stitch
sc = single crochet
ch1 = chain one
sl st = slip stitch
2tog = crochet 2 stitches together
BLO = back loops only
FLO = front loops only
f/o = finish off
Read me ~> How to read the rows: Each row has a sequence as given below. Example: 1sc then 2sc in next st means repeat that sequence 1sc then 2sc in next st followed by 1sc then 2sc in next st over and over to the end of that particular row. The number inside the parentheses ( ~ ) is the number of stitches you should have at the end of that particular row.
EYES: Placements are up to you since it’s personal preference. I put the white puppy’s eyes in between the 15th and 16th row, and the grey puppy eyes are in between the 16th and 17th. Both have about 9 visible stitch holes between them. (I counted the stitch holes under the felt piece).
If you plan on making a patch for the one eye, then just attach the one eye. The 2nd eye gets attached to the patch itself and that is sewn on after the puppy is stuffed and closed. See assembly instructions, link to assembly page is at the bottom of this pattern.
Starting at the top of the head working down to bottom of body:
1) magic circle or adjustable loop with 6st (6)
2) 2sc in each (12)
3) 1sc then 2sc in next st (18)
4) 1sc in next 2st then 2sc in next st (24)
5) 1sc in next 3st then 2sc in next st (30)
6) 1sc in next 4st then 2sc in next st (36)
7) 1sc in next 5st then 2sc in next st (42)
8) 1sc in next 6st then 2sc in next st (48)
9) 1sc in next 7st then 2sc in next st (54)
10-15) 1sc in each st for 6 rows
16) 1sc in next 8st then 2sc in next st (60)
17) 1sc in each st for 1 row
18) 1sc in next 9st then 2sc in next st (66)
19-25) 1sc in each st for 7 rows
*add the safety eyes before you continue on
26) 1sc in next 9st then 2tog (60)
*if you start to see gaps while you decrease then try the inv dec by crocheting in the front loops only when crocheting 2tog.
27) 1sc in each st for 1 row
28) 1sc in next 8st then 2tog (54)
29) 1sc in next 7st then 2tog (48)
30) 1sc in next 6st then 2tog 42)
31) 1sc in next 5st then 2tog (36)
32) 1sc in next 4st then 2tog (30)
33) 1sc in next 3st then 2tog (24)
34) 1sc in next 2st then 2tog (18)
*The next few rows will feel awkward to crochet but it will get easier as the body gets larger.
35) 1sc in next 2st then 2sc in next st (24)
* Stuff majority of head. Push the stuffing to the top of the head then make sure to gt stuffing all around the sides of the face and neck area. Shape as you stuff. It will take lots of stuffing. You will stuff more in a few more rows.
36) 1sc in next 3st then 2sc in next st (30)
37) 1sc in next 4st then 2sc in next st (36)
* Stuff more into the head now if needed. Make sure to get any gaps filled with stuffing. Push stuffing into the bottom of the face, all around. It takes lots of stuffing.
38) 1sc in next 5st then 2sc in next st (42)
39-43) 1sc in each st for 5 rows
44) 1sc in next 6st then 2sc in next st (48)
45) 1sc in next 7st then 2sc in next st (54)
46-48) 1sc in each st for 3 rows
49) 1sc in next 8st then 2sc in next st (60)
50) 1sc in next 9st then 2sc in next st (66)
51) 1sc in next 10st then 2sc in next st (72)
52) 1sc in each st for 1 row
53) 1sc in next 11st then 2sc in next st (78)
54) 1sc in next 12st then 2sc in next st (84)
55-59) 1sc in each st for 5 rows
60) 1sc in next 12st then 2tog (78)
61) 1sc in next 11st then 2tog (72)
62) 1sc in next 10st then 2tog (66)
63) 1sc in next 9st then 2tog (60)
64) 1sc in next 8st then 2tog (54)
65) 1sc in next 7st then 2tog (48)
66) 1sc in next 6st then 2tog (42)
67) 1sc in next 5st then 2tog (36)
* Stuff the majority of the body now. Be sure to fill any gaps in the neck area. Stuff it firm and full or the neck will be floppy. You will add more stuffing over the next rows.
*The next rows, and until you close the body, will feel a bit more difficult as it’s harder to keep the tension once the body has been stuffed, if you stuffed it enough. Hang in there! Keep your tension tight, you’re almost done.
68) 1sc in next 4st then 2tog (30)
69) 1sc in next 3st then 2tog (24)
*Stuff more. Push stuffing into the sides and all around the bottom.
70) 1sc in next 2st then 2tog (18)
*Stuff more.. be sure to get all around the bottom and in the middle. The belly should be nice and fat.
71) 1sc then 2tog (12)
72) 1sc in next 4st then 2tog (10)
f/o leaving a tail for closing up the gap. Weave in and out of the remaining stitches. Add more stuffing as needed then pull yarn tail tight to close gap. Knot off and hide yarn tail in the body.
Muzzle:
1) magic circle or adjustable loop with 6st (6) No need to pull the center hole too tight as you will go through this hole when you whip stitch the nose in.
2) 2sc in each st around (12)
3) 1sc then 2sc in the next st (18)
4) 1sc in next 2st then 2sc in next st (24)
5) 1sc in next 3st then 2sc in next st (30)
6) 1sc in next 4st then 2sc in next st (36)
7) 1sc in next 5st then 2sc in next st (42)
8) 1sc in next 7st, 3sc in next st, 1sc in next 2st, 3sc in next st, 1sc in next 2st, 3sc in next st, 1sc in next 14st, 3sc in next st, 1sc in next 2st, 3sc in next st, 1sc in next 2st, 3sc in next st, 1sc in next 7st (54)
9-12) 1sc in each st for 4 rows
13) 1sc in next 7st then 2tog (48)
14) 1sc in next 6st then 2tog (42)
15) 1sc in next 5st then 2tog (36)
16) 1sc in each st for 1 row
sl st next st and f/o leaving a long tail for sewing.
See the assembly page here for how to stitch the nose in.
Ears: If you would like to make the ears a bit shorter then eliminate a few rows between 24 and 31
1) magic circle or adjustable loop with 6st (6)
2) 2sc in each st (12)
3) 1sc then 2sc in the next st (18)
4) 1sc in next 2st then 2sc in next st (24)
5) 1sc in next 3st then 2sc in next st (30)
6) 1sc in each st for 1 row
7) 1sc in next 9st then 2sc in next st (33)
8) 1sc in each st for 1 row
9) 1sc in next 10st then 2sc in next st (36)
10) 1sc in each st for 1 row
11) 1sc in next 10st then 2tog (33)
12-13) 1sc in each st for 2 rows
14) 1sc in next 9st then 2tog (30)
15-16) 1sc in each st for 2 rows
17) 1sc in next 8st then 2tog (27)
18-19) 1sc in each st for 2 rows
20) 1sc in next 7st then 2tog (24)
21-22) 1sc in each st for 2 rows
23) 1sc in next 6st then 2tog (21)
24-31) 1sc in each st for 8 rows
32) do not stuff, fold ear flat and sc through both sides across.
f/o leaving a tail for sewing.
Arms:
1) magic circle or adjustable loop with 6st (6)
2) 2sc in each st (12)
3) 1sc then 2sc in next st (18)
4) 1sc in next 2st then 2sc in next st (24)
5) 1sc in next 3st then 2sc in next st (30)
6) 1sc in next 4st then 2sc in next st (36)
7-10) 1sc in each st for 4 rows
11) 1sc in next 4st then 2tog (30)
12) 1sc in next 3st then 2tog (24)
13) 1sc in each st for 1 row
14) 1sc in next 4st then 2tog (20)
15-35) 1sc in each st for 21 rows
*stuff hand once you got 5 rows done. Stuff arm as you go. Leave the last 6 rows unstuffed.
36) fold top of arm flat and sc through both sides across. f/o leaving a long tail for sewing.
Legs:
1) magic circle or adjustable loop with 6st (6)
2) 2sc in each (12)
3) 1sc then 2sc in next st (18)
4) 1sc in next 2st then 2sc in next st (24)
5) 1sc in next 3st then 2sc in next st (30)
6) 1sc in next 4st then 2sc in next st (36)
7) 1sc in next 5st then 2sc in next st (42)
8) 1sc in next 6st then 2sc in next st (48)
9-12) 1sc in each st for 4rows
13) 1sc in next 6st then 2tog (42)
14) 1sc in next 5st then 2tog (36)
15) 1sc in next 4st then 2tog (30)
16) 1sc in next 8st then 2tog (27)
17-36) 1sc in each st for 20 rows
*stuff foot after you get 5 rows done. It’ll take lots of stuffing. Stuff leg as you go along, leave the last 3 or 4 rows unstuffed. When you stuff the foot, push the stuffing into the sides to shape it, also stuff towards what will be the heel of the foot, this is important for shaping. The middle circle or row 1 should be up higher, towards the top of the foot when you’re done. See photos below.
37) Depending on where the last stitch of the last row ended you will have to sc around until you reach the side of the leg. The leg will look twisted if you don’t get to the side, it’s easier to sc to the side then have to play around with the shape after you close up the leg.
Fold flat then sc through both sides of the leg across.
38) ch1 turn, skip ch and put 1sc in each st across.
f/o leaving a tail for sewing.
How to make the toes is shown in the ASSEMBLY section. See bottom of page for link.
Smaller Foot Pads: Make 3 per foot
1) magic circle or adjustable loop with 6st (6)
2) 1sc then 2sc in next st (9)
sl st next st and f/o leaving a tail for sewing. Make 3 per foot
Larger Foot Pads: Make 1 per foot
1) magic circle or adjustable loop with 6st (6)
2) 2sc in each st (12)
3) 1sc then 2sc in next st (18)
4) 1sc in next 2st, 2sc in next 2st, 1sc in next 10st, 2sc in next 2st, 1sc in next 2st (22)
sl st next st and f/o leaving a tail for sewing. Make 1 per foot
Eye Patch: *Optional ~ you can leave this off.
1) magic circle or adjustable loop with 6st (6)
2) 3sc in first st, 1sc in next 2st, 3sc in next st, 1sc in next 2st (10)
3) 1sc then 2sc in next st (15)
4) 1sc in next 4st then 2sc in next st (18)
5) 1sc in next 2st then 2sc in next st (24)
sl st next st and f/o leaving a tail for sewing.
*note: the patch looks bigger in the video as I had added 1 more row, later I decided to remove that row.
Eye lids: If you use the eye patch then make one in body color and one same color as eye patch. If you do not use the eye patch then make 2 the same color as the body.
1) ch8 *starting tail should be long enough to sew into head.
2) starting in 2nd ch from hook, 1sc in each ch (7) turn, don’t ch1
3) skip first st, 1hdc in next st, 2dc in next 2st, 1hdc in next 2st, sl st last st
f/o leaving a tail for sewing
Tail:
1) magic circle or adjustable loop with 6st (6)
2) 1sc then 2sc in next st (9)
3-4) 1sc in each st for 2 rows
5) 1sc in next 2st then 2sc in next st (12)
6-22) 1sc in each st for 17 rows *stuff as you go, leaving the last 2 or 3 rows unstuffed.
23) fold top of tail flat and sc through both sides across.
f/o leaving a tail for sewing.
Feel free to tag me (@freeamigurumii) in your photos on Instagram or Facebook if you’d like!
All Finished.
